Remote work is becoming increasingly popular nowadays, and we spend a lot of time at home. So that makes it even more crucial that you have the proper tools when needed.
Screen recorders offer live-capture improvements, capture your screen to share with others, and make various movies, including demonstrations, tutorials, lectures, and YouTube videos. These programs let you record videos from your webcam and computer screen. These tools are generally handy. Next, we will discuss the top 6 screen recorders for Linux & Windows.
Top 6 Screen Recorder for Linux & Windows
You may better understand the top screen recorders available for both Linux and Windows by reading this guide, which will take you through them step-by-step.
Here are the top 3 screen recorders for Linux:
1. Kazam
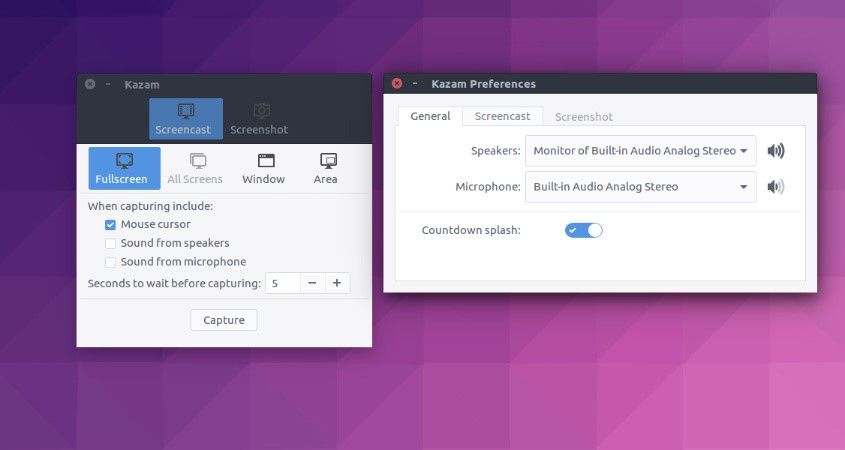
A user-friendly alternative for taking screenshots and screencasts is Kazam. This software allows you to record audio from any PulseAudio-compatible sound input device, the computer's microphone, speakers, full-screen mode, a window, or a specified screen section.
![]() Pros
Pros
- Attractive user interface.
- Simple autosave method.
- Time delay for screen capture is an option.
![]() Cons
Cons
- Playback of screencasts in poor quality when more than one screen is recorded.
- Screencasts are generally of lower quality than screen grabs.
Price: Free
Compatibility: Mac
Step-by-step Guide:
Step 1: Once you have installed Kazam, search for it in the application menu and start it.
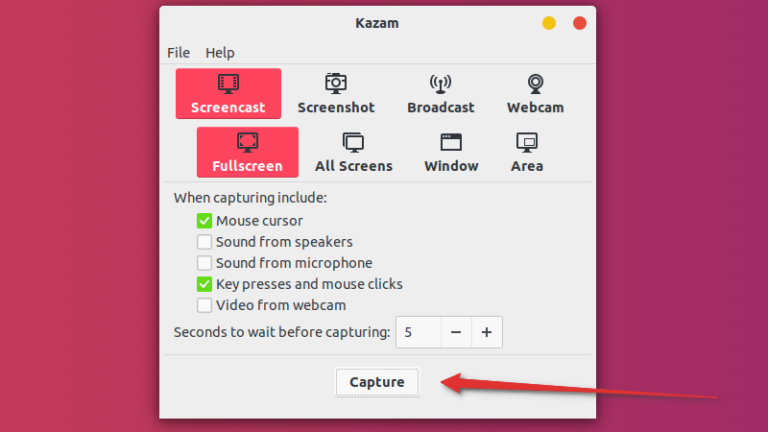
Step 2: To begin recording your screen with Kazam, click capture.

You can stop or resume recording using the indicator.
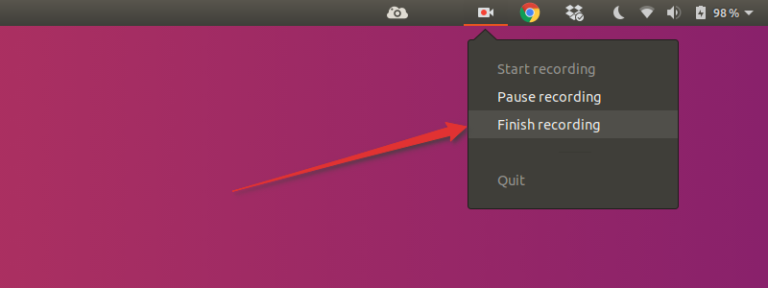
You will have the option to "Save for later" if you decide to finish the recording.
2. OBS Studio
This feature-rich, free, open-source, Linux screen recording program is cross-platform and straightforward. Use it to broadcast your material across numerous platforms, host online courses, and record conferences online. It is simple to set up and customize it to meet your individual and professional demands, record and edit your video, or live to stream it.
![]() Pros
Pros
- It has several features.
- It has a solid but simple interface.
- Convenient keyboard shortcuts.
![]() Cons
Cons
- The steep learning curve when acquiring software knowledge.
- Occasionally consumes a lot of memory and causes a lowdown.
Price: Free
Compatibility: Mac
Step-by-step Guide:
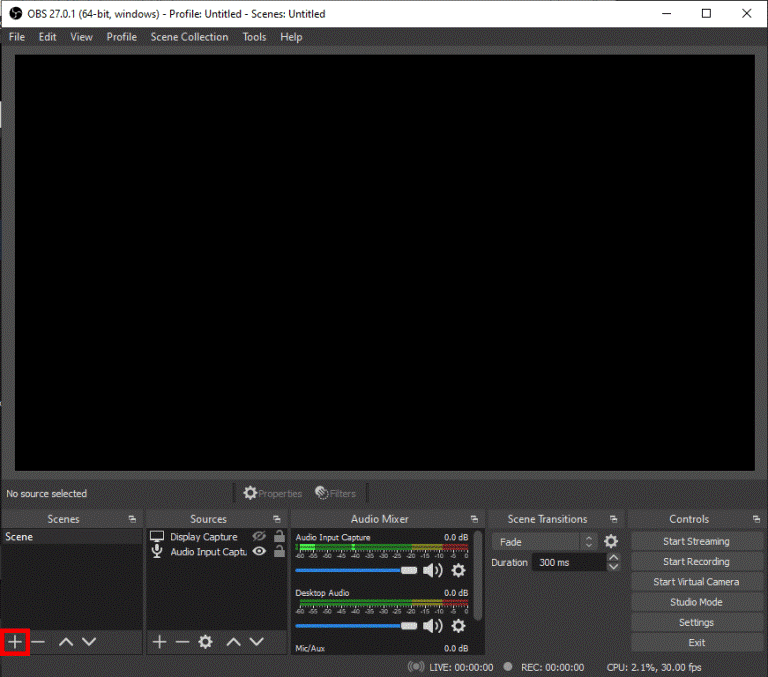
Step 1: Activate OBS Studio. Normally, after launching, the program will immediately add a Scene. If not, select the Add icon in the Scenes box in the lower-left corner of the screen.
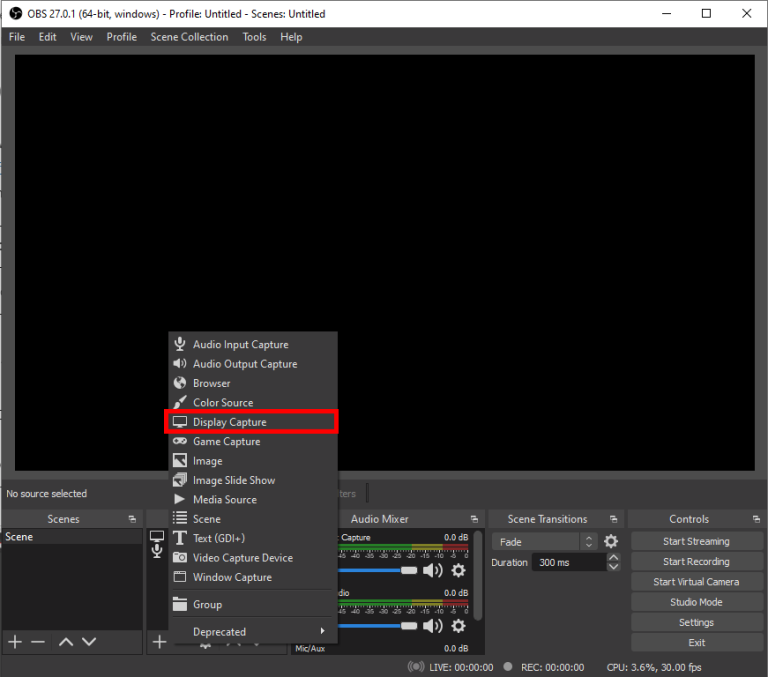
Step 2: Click the "+" icon at the bottom of the panel, then navigate to the Sources box that is next to Scenes.

Step 3: Now, select Display Capture from the options menu.
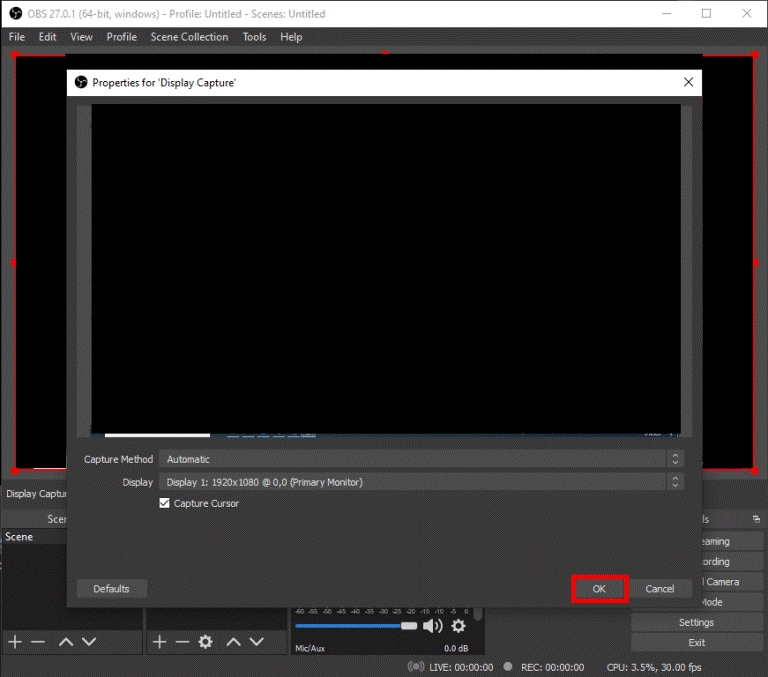
Step 4: A window will appear, add a title and click OK.
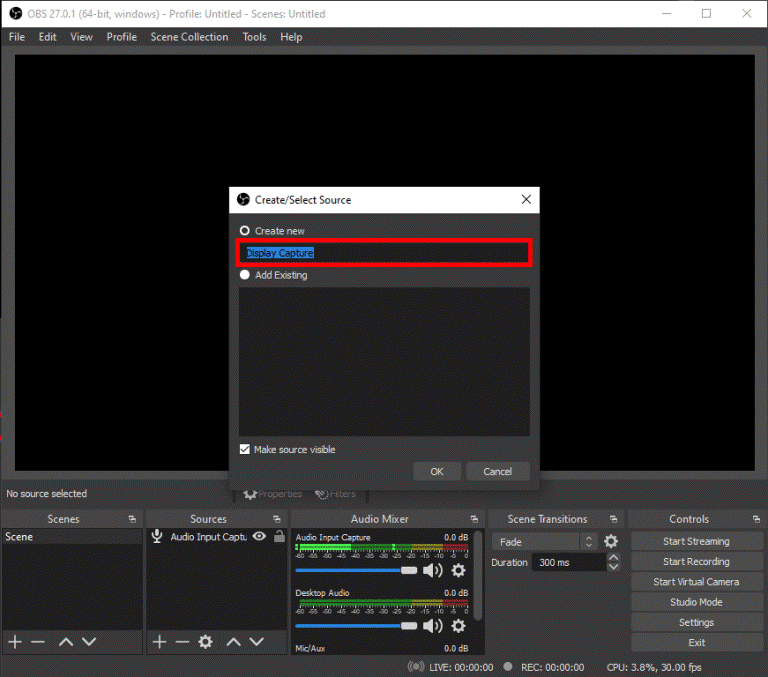
Step 5: Then, another pop-up will show up. If you have several displays, you can access a drop-down menu by clicking the tiny downward arrow. Select the display you want to capture, then click OK.
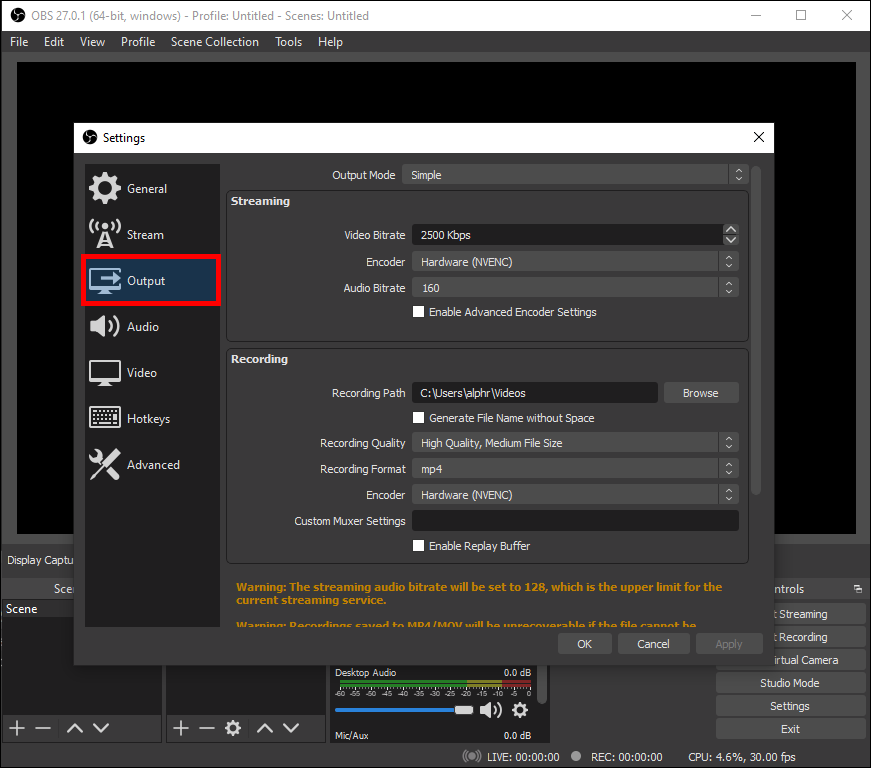
Step 6: Click Settings in the bottom-right corner of the display.

Step 7: Select Output from the sidebar on the left to open a new window.
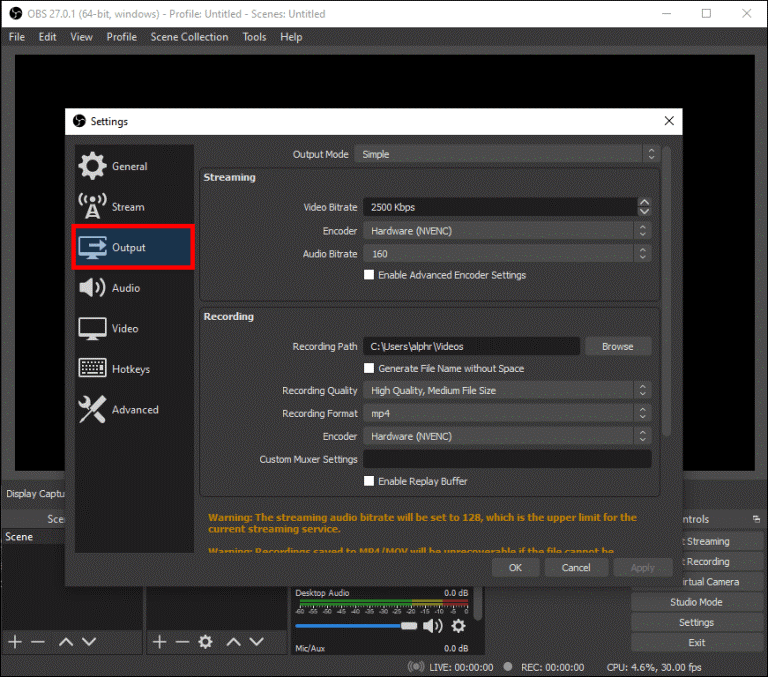
Step 8: Select a file destination under Recording Path.

Step 9: Click the blue "Start Recording" button in the bottom-right corner of the screen when you're finished.
3. recordMyDesktop
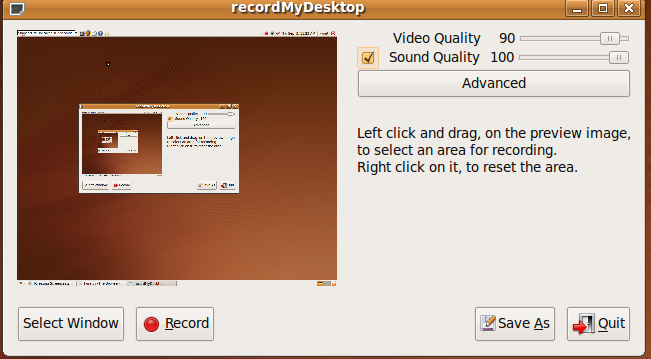
The Ubuntu screen recording and screenshot program are free and simple to use. Its user-friendly interface gives you complete control as it captures your desktop's audio and video activity. Although it is no longer supported, it is still accessible through the official Ubuntu repository.
![]() Pros
Pros
- Friendly user interface
- Simple recorder for audio and video
- Low resource usage for free
![]() Cons
Cons
- There is no way to record a single-window; only fullscreen is supported
- Unable to record with a webcam
Price: Free
Compatibility: Mac
Step-by-step Guide:
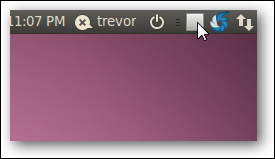
Step 1: Click the Record button in the main window or the red circle in your system tray.
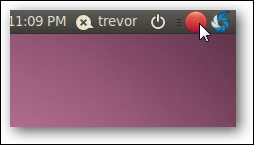
Step 2: The red circle will transform into a grey rectangle. The stop button in the system tray should be clicked once you have done recording your video.
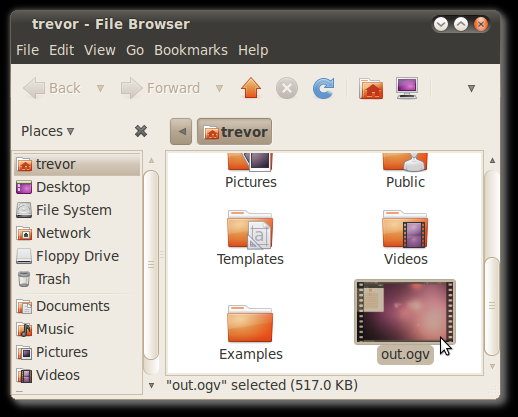
Videos will be saved by default in your home directory as "out.ogv.”
Below are the top 3 screen recorders for Windows:
1. EaseUS RecExperts
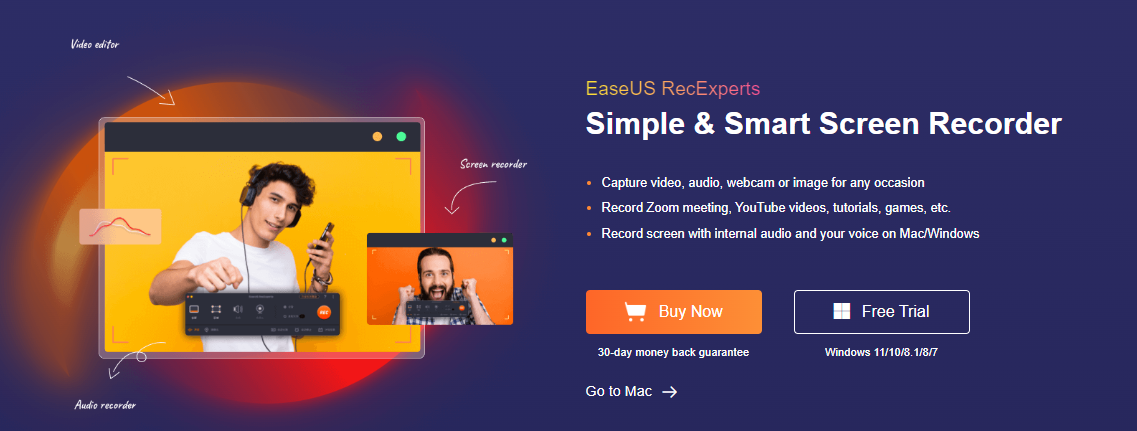
Even on a low-end PC, EaseUS RecExperts enables lag-free recording of gameplay, live streaming, and other videos. Additionally, everyone may easily capture a screen because of its clear and uncomplicated UI. Hotkeys can be programmed to start or stop recording instantly. With its built-in player, you can preview your recordings or simply edit them for later use.
![]() Pros
Pros
- There are many options for file and streaming support, and automated streaming is supported.
- Intuitive graphical user interface.
- High-quality recordings of both audio and video.
![]() Cons
Cons
- Limited editing features, advanced features are paid.
Price: Free and Premium version
Compatibility: Windows
Price: It starts $19.95/Monthly.
Compatibility: Windows and Mac
Step-by-step Guide:
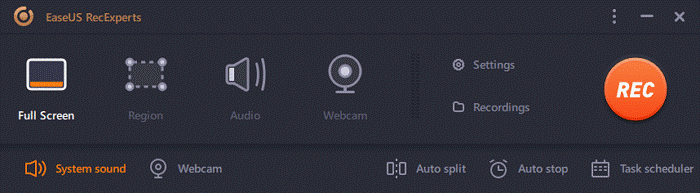
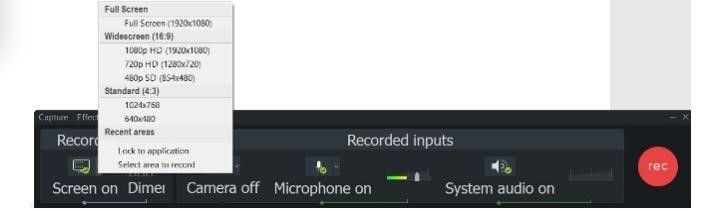
Step 1: Launch the EaseUS RecExperts software on your computer.
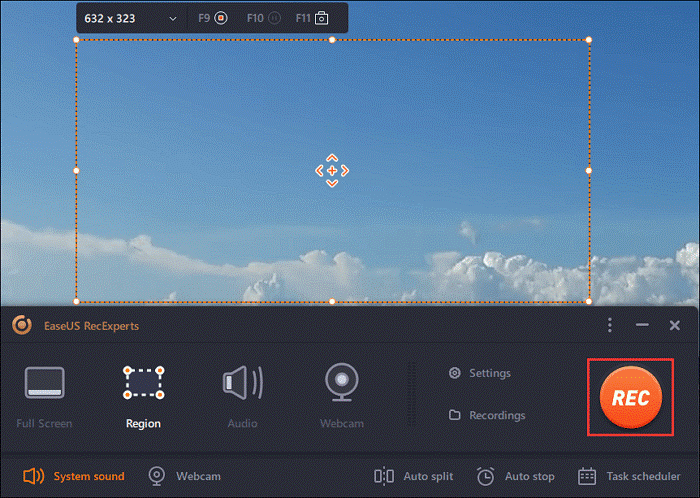
Step 2: You can either click the "Full Screen" option (for recording the whole screen) or select "Region" (for customizing the recording area). Upon that, choose the recording area with your mouse. If you want to record video with audio, you need to click the "Sound" icon on the bottom-left corner.
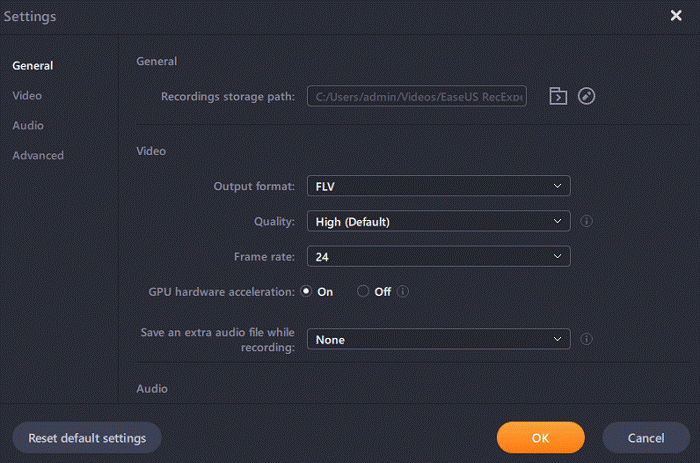
Step 3: Click the "Settings" button to apply more options and select the corresponding specification based on your needs. When finished, click "OK".
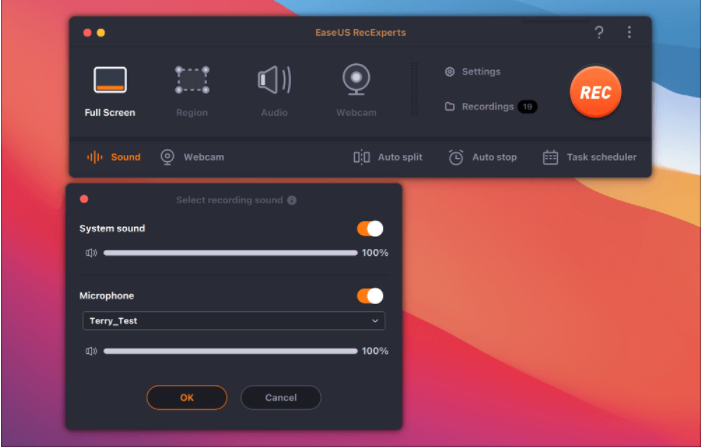
Step 4: Hit the "Sound" button on the bottom-left corner and open the system or microphone sound if you prefer to record audio and screen simultaneously. With that, select "OK" to ensure the audio options.
Step 5: Click the "REC" button to start recording. And click the red button on the timing bar to stop recording when it finishes.
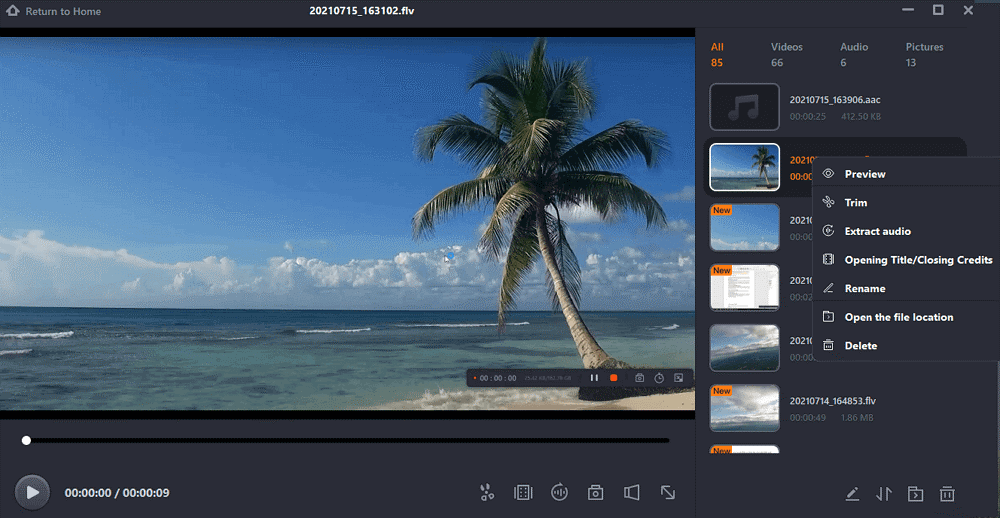
You can find the recording videos in the "Recordings" which is located in the main interface. Select the video and edit it as you want.
2. Camtasia
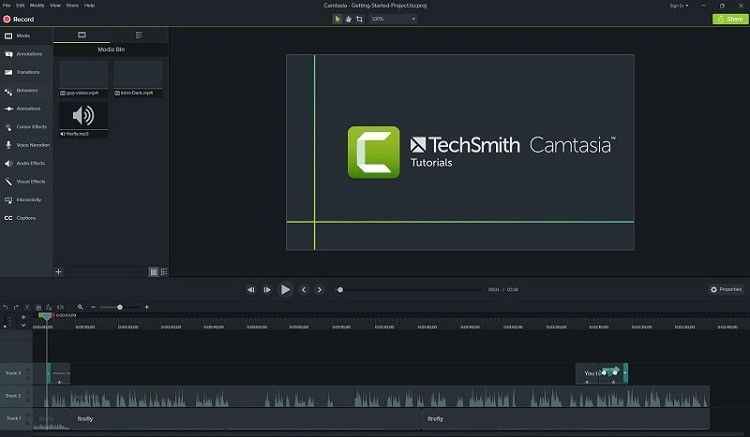
Camtasia is an easy-to-use screen recording software that comes with a wide range of video editing options. With its drag-and-drop editor, it works with a variety of formats, including recording video conversations on websites and apps.
![]() Pros
Pros
- Simple to use.
- Excellent library of templates.
- Plays nice with other tools.
![]() Cons
Cons
- Subject to bugs.
- Limited commands.
Price: Individual ($224.99), Business ($224.99), Government & Non-Profit ($201.74), and Education ($161.03).
Compatibility: Mac, Windows
Step-by-step Guide:
Step 1: Launch Camtasia on your PC. A window will appear where you can start or start a project. To start recording, select New Recording. Then, click on New Project if you wish to start a new project.
Step 2: The recording window will be in the bottom right corner if you clicked New Recording.
Step 3: The red record button can be clicked to begin recording, but it is preferable to make other changes first.
Step 4: Click the "rec" button to initiate the recording.
Step 5: The video is immediately imported into the Camtasia video editor after recording.
3. Nvidia Share
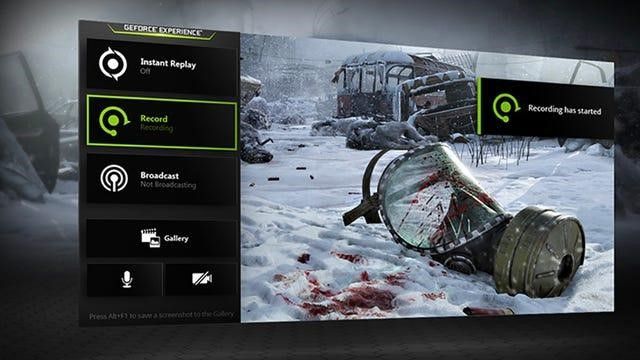
Only Windows users have access to Nvidia Share, but it is a powerful tool if you know how to utilize it. It is distinctive in that it was created especially for use with video games, possessing the capacity to automatically record your game's highlights, such as crucial kills.
![]() Pros
Pros
- High-quality broadcasts.
- Highlights feature.
- Excellent for gaming recording.
![]() Cons
Cons
- Insufficient compatibility.
- Lack of support complaint.
Price: Free
Compatibility: Windows
Step-by-step Guide:
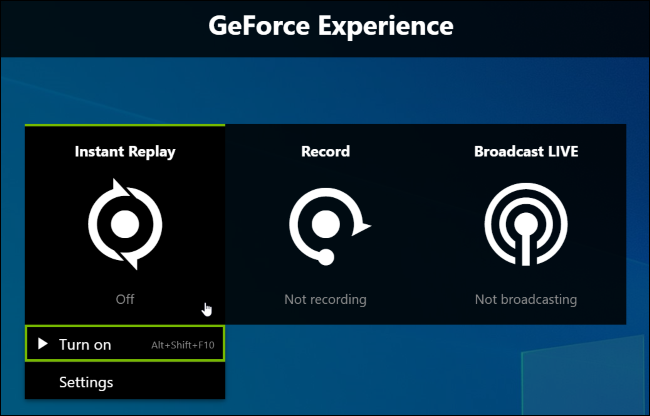
Step 1: To open the overlay by pressing Alt+Z. Open the "GeForce Experience" application from your Start menu if you don't see anything.
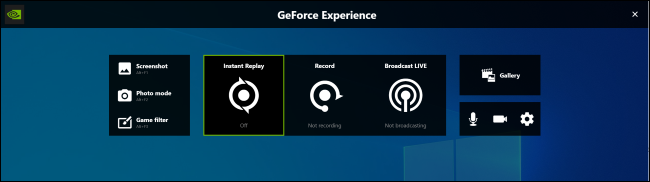
Step 2: Click "Turn On" after selecting the "Instant Replay" icon.
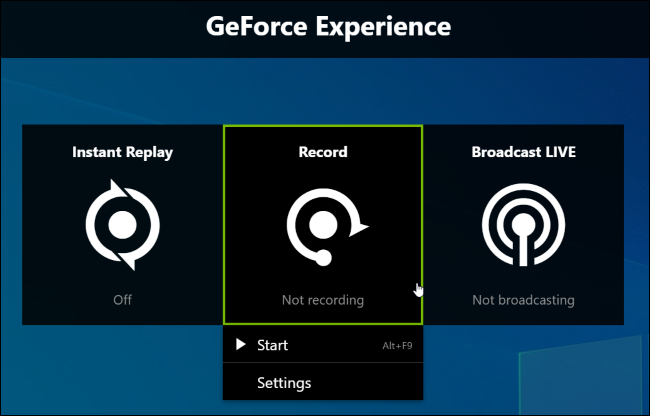
Step 3: Click the "Instant Replay" or "Record" buttons in the overlay and choose "Settings" to change your Share preferences.”
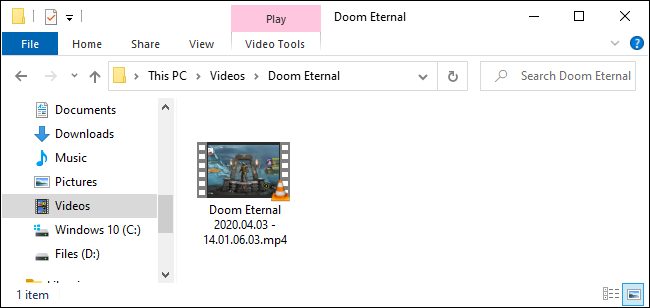
Step 4: Click Settings > Recordings in the overlay and change the "Videos" directory to select a different location.
The Bottom Line
Today, technology permeates both our personal and professional life daily. We continually seek to expand our technical knowledge and skill set to develop new initiatives. Therefore, you need to pick the best screen recorder for Linux and windows if you want to capture an online meeting or call, YouTube video, animated GIF, or online tutorial. We highly recommend EaseUS RecExperts among the top 6 screen recorders for Linux & Windows mentioned above.
Price: It starts $19.95/Monthly.
Compatibility: Windows and Mac