Recent advances in technology have made capturing and storing visual information on PCs really easy through the advent of screenshots, which is also known as "screen grab" or "screen capture." Rather than copying information manually and trying to cram the progression of information, taking screenshots can help you save pieces of information visually, just as you saw them.
Screenshots help save the time and energy required to capture the information being displayed on your ASUS laptop's screen. There are several ways to take screenshots on your Asus laptop. And they all include a few clicks and steps. Follow the step-by-step guide explained below to start taking screenshots on your Asus laptop like a Pro.
How To Take Screenshots on ASUS Laptop
Method 1: Press PrtSc
This method is one of the easiest ways to take a screenshot of your entire Asus laptop's screen. Follow the steps below to explore this option.
Step 1: On your ASUS PC, open the Page you would like to screenshot.
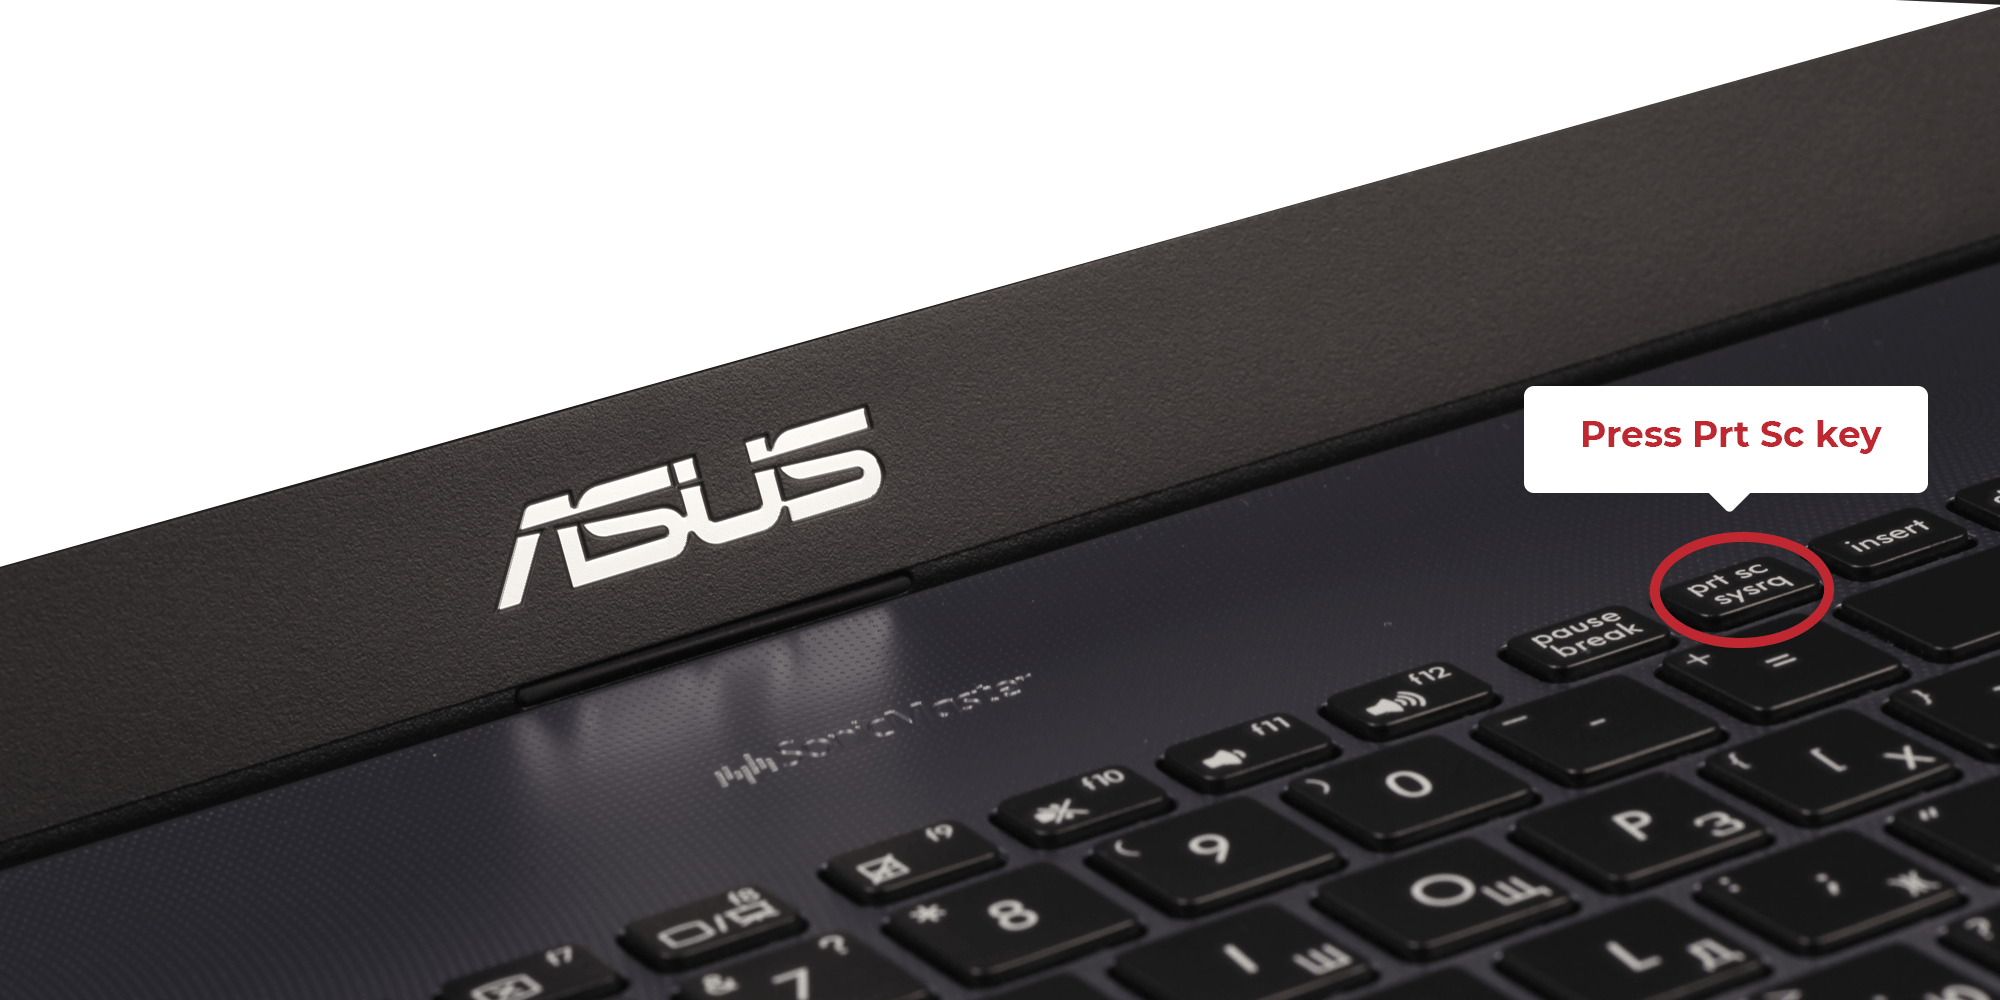
Step 2: On your keyboard, search for and tap the "PrtSc" button once; this should capture the entire screen
Step 3: Open an image editing software like Paint
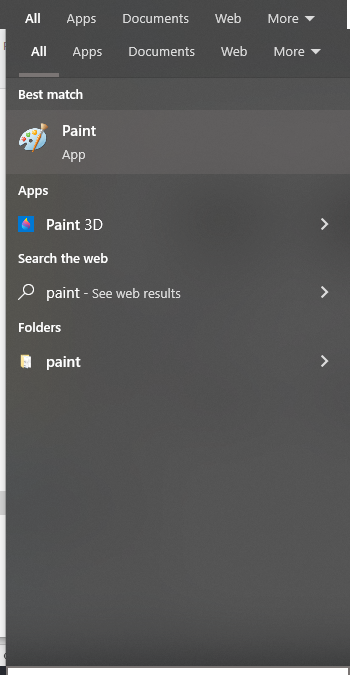
Step 4: Paste the screenshots into the software using the "Ctrl + V" buttons on your keyboard. Then, save the file into a folder of choice
Method 2: Press "Windows + PrtSc"
Another easy way to screenshot your screen is to press the Windows logo key on your keyboard and the PrtSc key simultaneously to capture your intended screen. Remember to do this while the screen you want to capture is displayed on your Asus laptop's screen.

One of the pros of using this method is that it saves the captures taken automatically in a folder called screenshots in Pictures. You can easily locate the folder to view your captures. Furthermore, when you use this method, the screen sometimes flashes a light to assure you that your screenshots have been saved successfully.
Method 3: Using the "snipping tool."
The snipping tool is a built-in Windows feature that's easily available on all ASUS PCs, allowing users to easily capture their screen. This tool allows you to selectively screenshot the part of the screen you want to capture. It can also let you eliminate unwanted parts of the screenshots with its "crop" tool. To make use of this tool on your Asus laptop:
Step 1: Tap the Windows logo on your PC keyboard. In the search box, type "snipping tool."
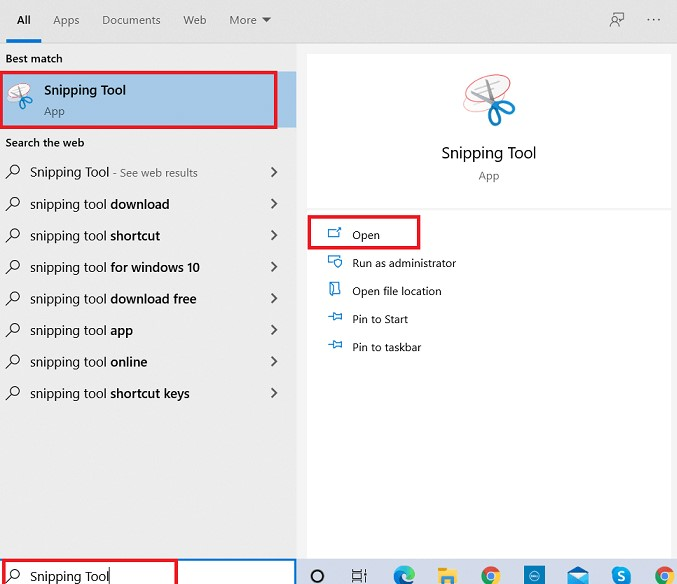
Step 2: Launch the "snipping tool" from the search results. Click "New" at the top left corner of the window

Step 3: Then, click and drag your cursor over the displayed area on your Asus laptop that you want to screenshot, then release the cursor at the end of the section.
Step 4: Click the save snip icon on the snipping tool window to save the screenshots.

Method 5: Using extensions or plug-ins
Aside from the built-in functions listed above, other external resources can be used to take screenshots on your Asus computer. Though the above-mentioned built-in functions can take screenshots of the computer, they have their shortcomings, making people prefer these third-party resources to take screenshots.
These built-in screenshot tools do not offer flexibility while taking screenshots. For example, your screenshots can only be in the PNG format, and you can't be edited or resized immediately after screenshots. You can only do this by locating the screenshots folder and opening the file with another tool, which can be unnecessarily frustrating sometimes.
These built-in tools don't also give the option =-o easily share screenshots. Most times, when screenshots are taken, it's to share on social media with family, friends, and acquaintances. However, you must go to the file location before this can be possible. Hence, the reason why third-party tools are preferred to these.
Bonus Tip: The best way to screen record on an Asus laptop
We recommend using EaseUs RecExpert to perform any screen record function on your Asus laptop. Be it screenshots, audio, and video, EaseUs RecExpert is the best for you. You can easily capture the whole window or any section of the screen of your Asus laptop and save it in your desired format. In addition, it allows you to properly edit, watermark, and share screenshots.
EaseUs RecExpert can help you screen record a whole screen section with a resolution as high as 4k UHD. It can also screen record multiple audio and video sections of your Asus laptop screen simultaneously. This tool can help save your file in various formats like MP4, AVI, etc. It also has a zoom-in option for you to zoom into these videos. You can also lock a specific window or program being recorded so that no matter what's brought on top of it, the recording continues without disruption.
Price: It starts $19.95/Monthly.
Compatibility: Windows and Mac
The tool comes in free and paid versions. While the free version offers some restrictions on its service, the paid version has many unlimited features while the subscription lasts.
Step-by-step guide:
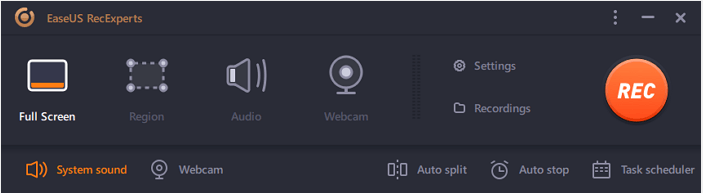
Step 1. Run EaseUS RecExperts on your Windows. If you want to capture everything on your screen, click the "Full Screen" option. This is a perfect choice when playing the streaming video in full-screen mode.
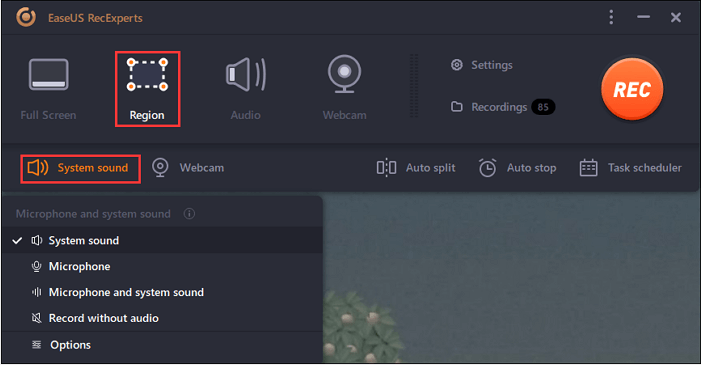
Step 2. Alternatively, you can opt for "Region" to record the specific area if you want to play the streaming video in a window.

Step 3. Now, you can hit the "System sound" button to choose the sound source you prefer and adjust the volume. Upon that, click "REC" to start recording.
Step 4. When the recording is ongoing, you'll see a toolbar floating on the screen, which you can avail yourself of to pause or stop the recording process.
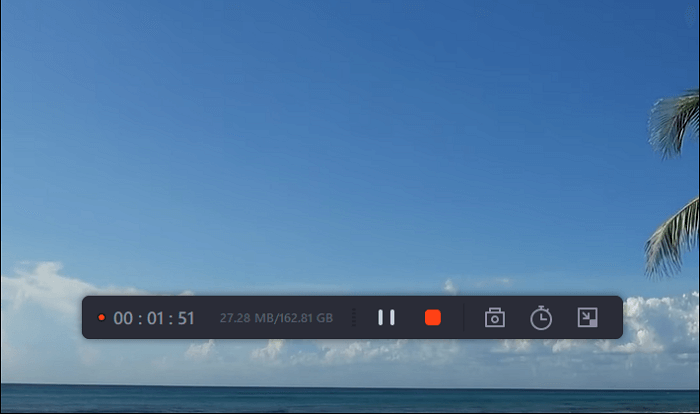
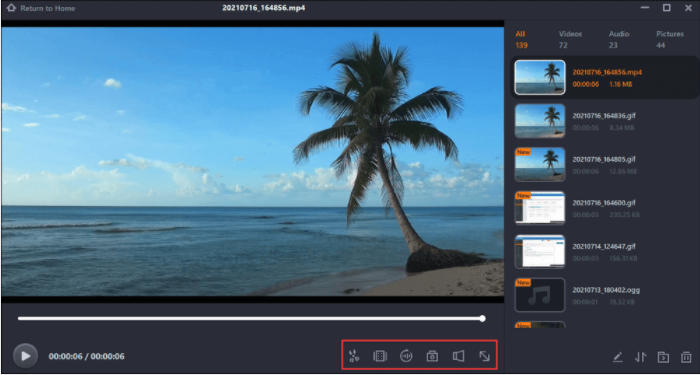
Step 5. Once you are done with the recording, click on the red stop button and then your captured video will be automatically saved on your device. You are also allowed to view the recording and utilize tools for trimming it, extracting audio from it, or adding an opening and ending section as the built-in media player appears.
Conclusion
Taking screenshots is an important skill in this age as you can store information visually, just the way they are. With all the steps listed above, you can try them out to see which one appeals to you more.
The use of third-party extensions and plug-ins has become rampant due to the rigidity of the built-in functions. This is why we recommend using EaseUs RecExpert due to its multiple functionalities. With this tool, you can easily automate your recording and simultaneously capture many sections of your screen.