The power supply is an essential component of a computer, and all computers, regardless of brand or operating system, have one. It is intended to convert alternating current (AC) from a plugged-in wall outlet to direct current (DC) for the computer's components. Unfortunately, it can be challenging to pinpoint the source of a computer's strange behavior or random crashes. And as much as you might not want to admit it, testing your power supply should be part of your troubleshooting process. And if the power supply turns out not to be working correctly, there are ways to repair PC power supply.
Fix various PC errors with System Mechanic Ultimate Defense:
System Mechanic Ultimate Defense is a software application suite. System Mechanic Ultimate Defense is an Iolo product that functions similarly to a PC optimizer. This software package is a powerhouse with a slick suite of tools that dramatically improves the performance of your PC.

System Mechanic Ultimate Defense tools include Malware Killer, which uses Scan Cloud to analyze and scan potential threats. Each potential threat is routed to the secure Scan Cloud Sandbox for analysis. This feature enables Malware Killer to operate more quickly and efficiently. A System Shield feature that protects your computer from malware threats. The ByePass feature is intended to be a simple tool that assists you in securing all passwords on your computer. System Mechanic Ultimate Defense Privacy Guardian is also included.
Price: It starts $79.95/Year.
Compatibility: Windows 11/10/8.1/8/7
Signs Your Power Supply May Have Issues
1. Odd sounds
If you hear odd noises from the back of the computer case near the cord, the power supply unit (PSU) may fail. As the PSU's fans scrape against its metal housing, you may hear grinding or a rapid scraping sound. These noises indicate that the bearings in the power supply unit are wearing out.
2. Your device crashes a lot.
If your computer shuts down without warning, the power supply may be failing. The power supply provides power to the various components of your computer. Each part requires power, from the CPU to the storage drive and random access memory (RAM). When one or more components do not receive the necessary power, they cannot function, and your computer may shut down unexpectedly.
The fluctuating power of a faulty power supply can also cause software issues. You may encounter frequent crashes or blue screen errors. All of these could be warning signs of a PSU failure.
3. Nasty burning and melting smells
If the power supply unit is completely dead, it may begin to emit a burning smell or emit smoke. In this case, you must immediately turn it off and replace it. Also, please do not use it until it has been replaced. If you are experiencing symptoms, a problem with the power supply units could be one of the causes. However, this will not completely confirm that your power supply is failing. As a result, you should run a test to see if your power supply is dead.
4. Your computer can't turn on.
If your computer does not boot, the power supply may have failed. If your power supply has completely failed, pressing the 'On' switch will have no effect. The problem is most likely power-related if you turn on the computer and hear no fan, hard drive, or motherboard sounds. In such cases, you should double-check that your computer is plugged into a wall outlet. To ensure it is operational, you should also test the wall outlet with a separate device, such as a phone charger.
Diagnosing a Failed PC Power Supply
There are several possible causes for a desktop, laptop, or tablet computer not to come on. First, you must follow the diagnostic procedures outlined below to determine why your computer does not come on.
1. Make Sure All Cables are Plugged In
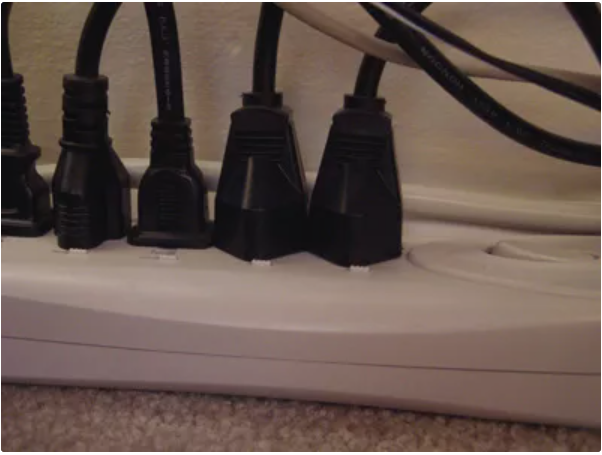
Check that everything is plugged in. Examine the computer power cable connections for any loose connections. A loose or unplugged power cable is a common cause of a computer not turning on. Even if a battery powers your computer, you should ensure the AC adapter is properly plugged in, at least during troubleshooting.
2. Examine the computer's boot-up process
You can examine the time it takes your computer to boot up. You have to observe the changes when it takes your computer to boot up and shut down. This, as well as unexpected reboots, could indicate that something is wrong.
3. Examine your computer's fan
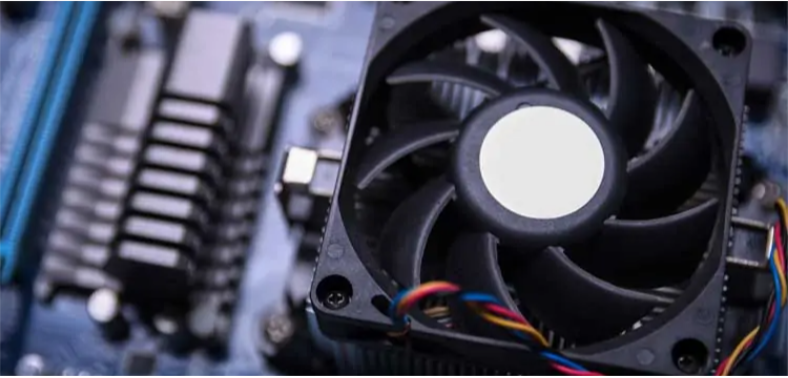
Most CPUs include thermal protection, which shuts down the computer if it becomes too hot. However, if your computer is constantly shutting down or not booting up properly, it could be due to a faulty case or CPU fan. If your computer's fan fails to spin, it can cause overheating and smoke in the system, all of which can lead to a failed power supply.
How to Repair a PC Power Supply
You can repair your PC power supply by yourself instead of visiting a technician to resolve the issue for you. Follow these step-by-step instructions to get it done.
Step 1:Unplug your PC's power cable and any other cords connected to the back of the case to repair a PC power supply after confirming that it is damaged. Flip the computer case over.
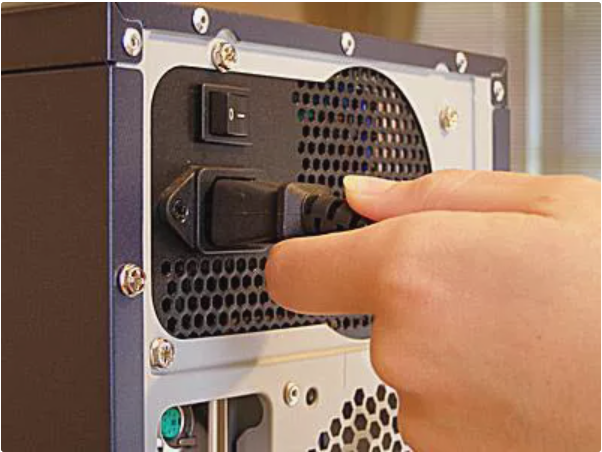
Step 2: If the PC uses case screws, remove the two screws at the back end of the case. If there are no case screws, grab the metal latch at the top of the case. To remove the side panel from the computer case, lift the latch.
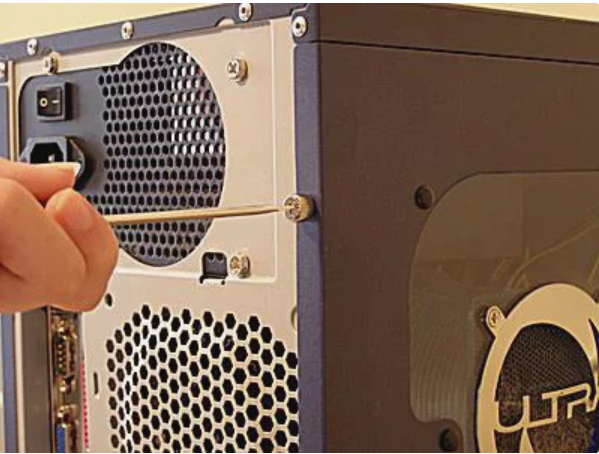
Step 3: The side panel of the case can now be removed. The board can sometimes be lifted off while attached to the case with a slide-lock mechanism. Slide the panel from the case by pressing down on it. Remove the screws in the upper-left corner of the motherboard that holds the power supply. Remove the cables connecting the power supply to the motherboard. Examine the power supply to see if it emits a burning odor. If there is a burning odor, discard the power supply immediately; it will need to be replaced entirely.
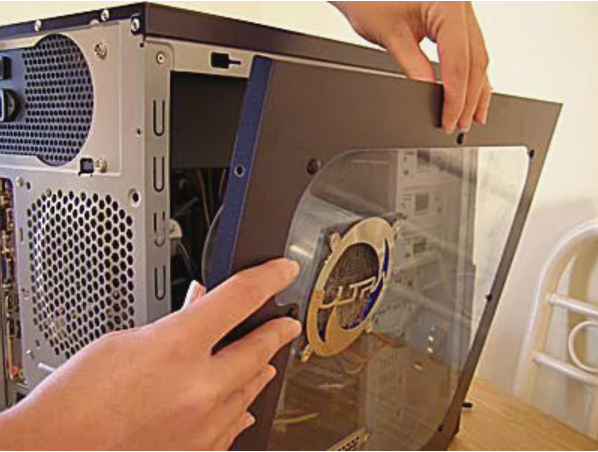
Step 4: Check if the power supply fan is clogged with dust. To remove the debris, spray the fan with canned air. Connect the power supply to the motherboard once more. Reassemble the computer and check to see if the problem still exists.
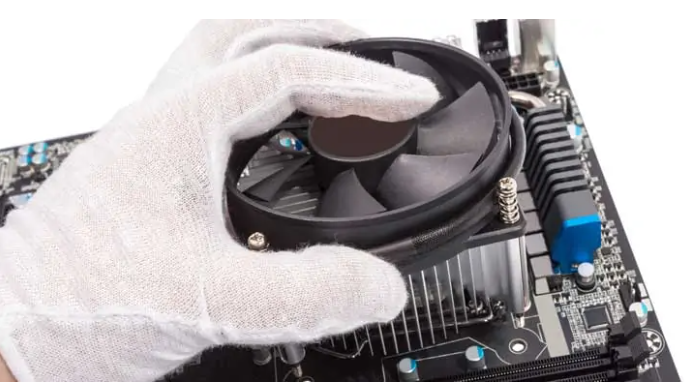
Step 5: If the problem persists, remove the computer's power supply. Examine the model number on the power supply's side. Check the manufacturer's website to see if a replacement power supply unit is available.
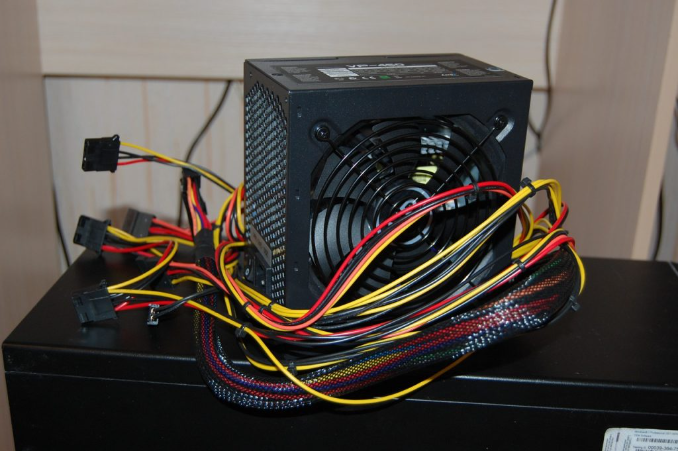
Step 6: Replace the old power supply with a new one of the same type. Most power supplies used in recent PCs are of the "ATX" variety, but if you're not sure, bring the old unit to the store to compare. One rule is that the new unit must be the same width as the old one.
Step 7: Remove the old power supply from the computer and install the new one. Attach the screws that will secure the power supply to the case. Next, connect the cables from the power supply to the motherboard. Replace the side panel on the PC, then reconnect the power cable. Finally, turn on the computer to ensure the power supply is properly installed.
Conclusion
This post explains the signs to look for when your power supply unit is having issues, how to diagnose a faulty PC power supply, and how to repair a PC power supply in an easy step-by-step procedure. The procedure discussed should bail you out if your PC power supply is no longer functioning correctly. Follow the aforementioned detailed steps, and you will get your PC up and working again.
To prevent you PC from diverse issues, we highly recommend System Mechanic Ultimate Defense.
Price: It starts $79.95/Year.
Compatibility: Windows 11/10/8.1/8/7

