The screen recording function is gradually becoming a very common requirement in our daily lives or work. It can help us better display the process during presentations, speeches, tutorials, gameplay, teaching, etc.
But many computer users don't have the proper method to record screens with sound on computers. Meanwhile, many screen recording tools are too expensive to accept. Fortunately, there are solutions to help you record screens at ease.
This passage will introduce and demonstrate 3 available and simple ways to record screen with sound on Mac computer since many Mac users have little idea about it. We provide the easiest, the fastest, and the APP solutions, and you can choose according to your needs.
Using the most straightforward method, you can use our recommended software, EaseUS RecExperts, to record screens with high quality. It also allows you to set scheduled recordings, automatically record screens.
Table of Content:
The Easiest Solution: Use EaseUS RecExpets to Record Screen with Sound on Mac
The Fastest Solution: Use Screenshot Toolbar to Record Screen with Sound on Mac
The APP Solution: Use QuickTime to Record Screen with Sound on Mac
The Easiest Solution: Use EaseUS RecExpets to Record Screen with Sound on Mac
If you are looking for an easy way to record screens on Mac, our software is available here for you to use, which can record screens with just several clicks. As we mentioned before, EaseUS RecExperts has multiple functions that can be used for recording screens with sound and be used for editing videos. It is a perfect tool to satisfy your need for recording screens with sound.
EaseUS RecExperts is recommended for the following features:
- Record Any Screen & Audio: The software ensures you record the full screen or part of the screen on your computer. While recording, it can record sound both from Microphone and the system. You can also extract audio from recording files.
- Scheduled Recording: Preset a start and a stop time. It will record the screen automatically as the setting.
- Turn Video into GIF: GIF is very popular now, and you can capture these interesting fragments into GIFs while watching videos or movies.
- Edit Recording: You can trim the length and adjust the volume of the videos after finishing recording,
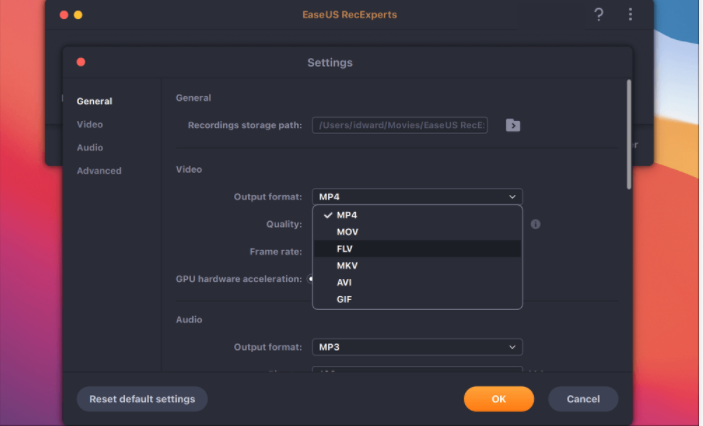
- Multiple Output Formats: The videos can be saved and output for more than 10 formats, like MP4, MOV, AVI, etc.
Price: It starts $19.95/Monthly.
Compatibility: Windows and Mac
Now, let's look at the specific steps:
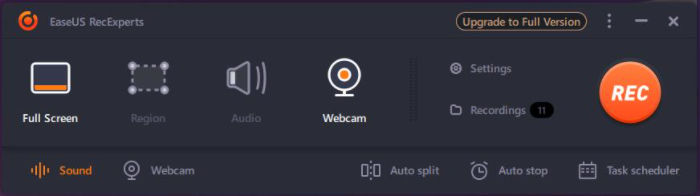
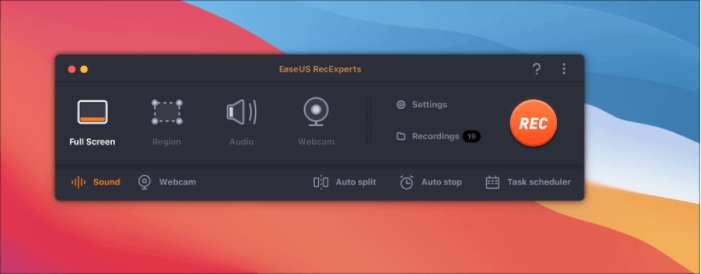
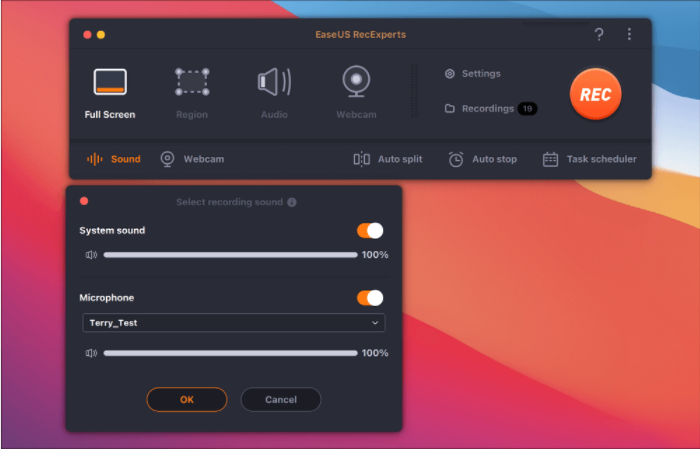
Step 1. Open the your favorite video and launch EaseUS RecExperts on your Mac. If you prefer to capture the whole screen, you can select the "Full Screen" option. Alternatively, you can choose "Region" to customize the recording area and select the recording area with your mouse.
Meanwhile, to capture the screen with audio, you'll need to click the Sound icon at the bottom left corner.
Step 2. You can apply options like changing the output format of the video, the quality, etc by clicking the "Settings" option.
Step 3. Once done, go back to the main screen and hit the Sound icon. With that, enable the system or microphone sound if you want to record audio and screen simultaneously. Confirm the audio options by clicking "OK" , then hit the "REC" button to start recording.
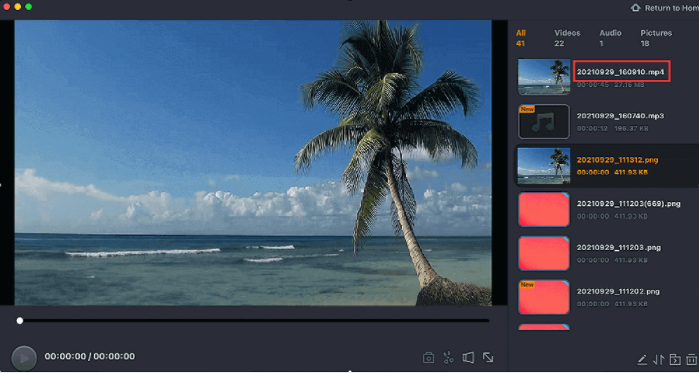
Step 4. After you finish the recording, click "Stop" to end the process. You are allowed to watch the captured video in "Recordings" and review the target saving from the lists.
The Fastest Solution: Use Screenshot Toolbar to Record Screen with Sound on Mac
Mac has its built-in screen recorder, Screenshot toolbar, the fastest method to record screen on your Mac. But it comes with the premise that the Screenshot toolbar is only available in macOS Mojave or later. You can record a full screen, part of the screen, or just take a screenshot of your screen.
Here are the steps:
Step 1: Press the "shift" + "command" + "5" keys at the same time to open the Screenshot toolbar.

After hitting, you can see an interface like this:
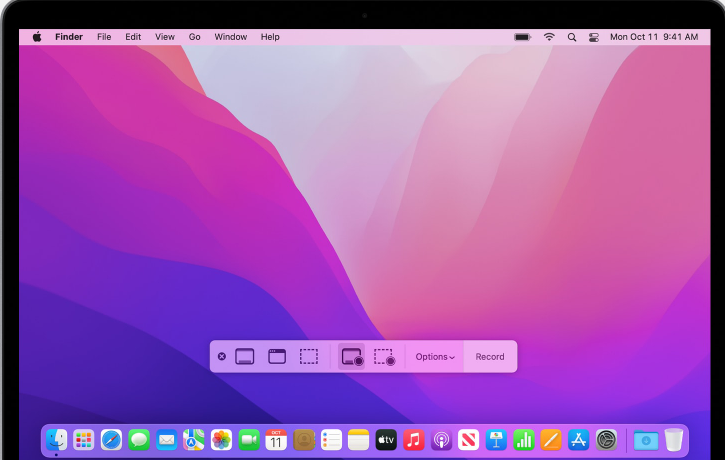
Step 2: Click the displaying frames to customize your video. You can choose to record full screen or only part of the screen.
Step 3: Click the "Options" button to turn on audio. And then, tap the “Record” to start recording.
Step 4: When the recording finishes, click the "Stop" button to end it.
Following the above steps, you will successfully record the Mac screen with audio. But it doesn't support editing after recording videos.
The APP Solution: Use QuickTime to Record Screen with Sound on Mac
Another available method is using QuickTime to record screens, which can help you record screens with audio for free.
The only limitation is that QuickTime can only record sound from Microphone, so if you want to record videos with sound, make sure the microphone function works well on your Mac. While recording, please raise the sound as much as possible to avoid low volume in the video.
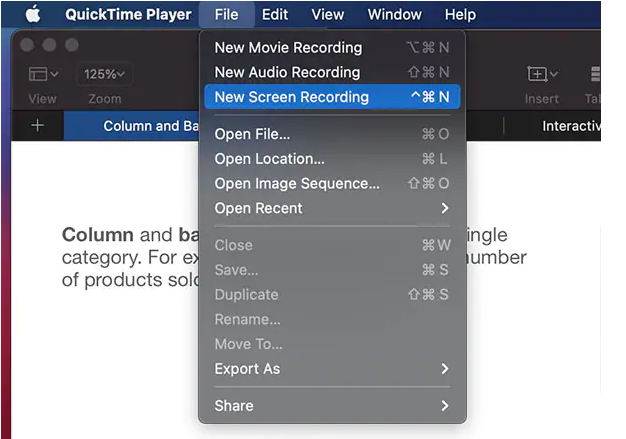
Step 1: Launch the QuickTime Player on your computer.
Step 2: Click the "File" on the top options and choose "New Screen Recording" from the drop-down column to open the screen recorder.
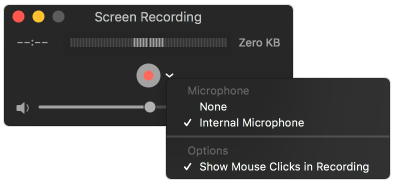
Step 3: Then, you can see an interface like this. Tap the arrow on the right side of the start button, and ensure the “Internal Microphone” is checked.
Step 4: Click the start button to begin recording. If you are going to record the whole screen, just hit anywhere on the screen. If you want to record a specific part, drag an area with your mouse.
Step 5: When the recording finishes, click the gray button to end the process. Or, you can press Command+Control+Esc to stop it.
Note: if you want to cancel the recording, just click the "ESC" on the keyboard.
Sum Up
We have discussed three practical raiders on recording screen with sound on Mac computer. You are supposed to choose one according to your needs. The screenshot toolbar is an easy and fast path for those whose system belongs to macOS Mojave or later. With QuickTime Player, you don’t need to download third-party software to record screens. If you are looking for an easy way to do that, EaseUS RecExperts is your best choice, and it offers the option to edit videos after recording.
Price: It starts $19.95/Monthly.
Compatibility: Windows and Mac
You can also read: Best Screen Recorder for PC