Screen recording on your Mac can be beneficial in a variety of scenarios. For example, perhaps you could create a screencast tutorial. Maybe you're preparing a business presentation. Alternatively, you may make video notes for yourself.
Whatever the cause, it's straightforward and straightforward. So, here are a few alternative ways to start and stop recording your Mac screen.
How to Screen Recordings on Mac
1. How to Screen Record on a Mac via EaseUS RecExperts
EaseUS RecExperts also has a macOS version for Mac users and a Windows version. It allows you to record live streaming video, audio, and online meetings in various ways. Furthermore, it enables you to record internal audio on your Mac without needing additional software, and you may choose from multiple audio sources, including microphones and other external audio devices.
Because it supports various commonly used file types, including MP4, MOV, and FLV, you can effortlessly export your recordings and share them with your friends.
Key Features:
- The user interface is tidy and straightforward.
- Record a portion of the screen, the entire screen, or a single window.
- On a Mac, record both the screen and the audio simultaneously.
- Using Task Scheduler, you may automatically record your Mac's screen.
Price: It starts $19.95/Monthly.
Compatibility: Windows and Mac
You may use this guide to record your screen on a Mac with audio, and you can use it to record whatever you need.
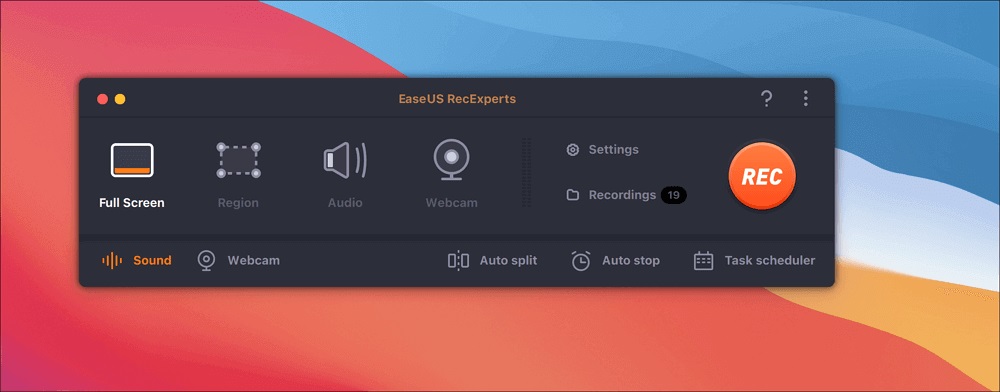
Step 1. On your Mac, download and run EaseUS RecExperts. Then, on the main interface, click the Full-Screen button to capture the entire screen. Next, choose the "Region" button if you wish to adjust the recording region.
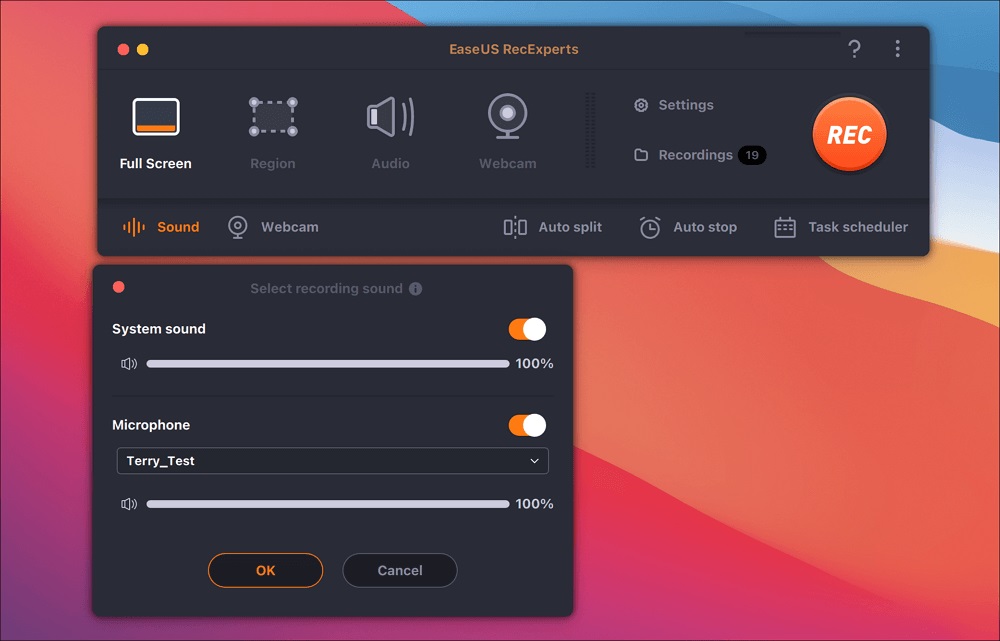
Step 2. Select the Sound icon from the toolbar's bottom-left corner to record the screen with audio. External sound or system audio can be used as audio resources. Enable the target option based on your requirements.
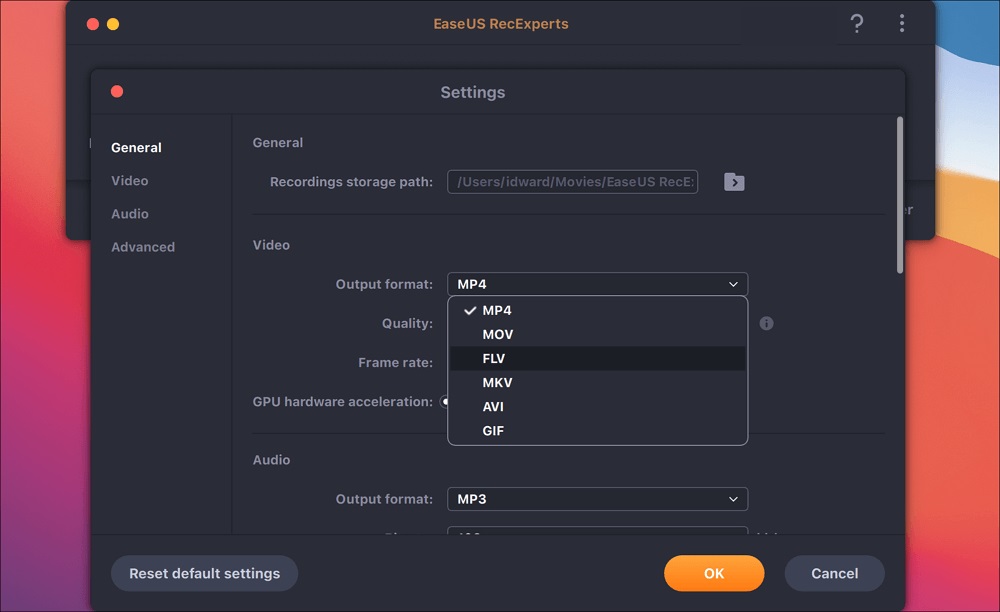
Step 3. By clicking "Settings" from the main interface before capturing, you can alter the output format of the recorded video. Then, in the Output format for the Video menu, scroll down. You can select whatever output type you like.
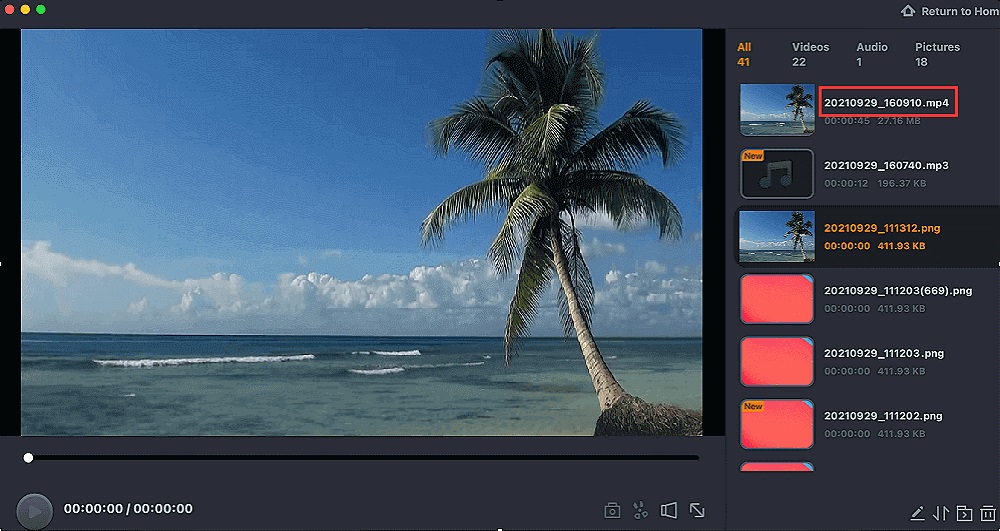
Step 4. Then, to begin recording, hit the REC button. It captures everything that appears on the screen of your Mac. When you're finished, press the Stop button. The recorded video can then be seen under "Recordings."
2. How to Screen Record on a Mac via the Screenshot Utility
The Screenshot Utility is the simplest way to record the screen on your Mac. In addition to screenshots, this application allows you to record your screen.
The screenshot is simple to use if you have Mojave, Catalina, or a later macOS.
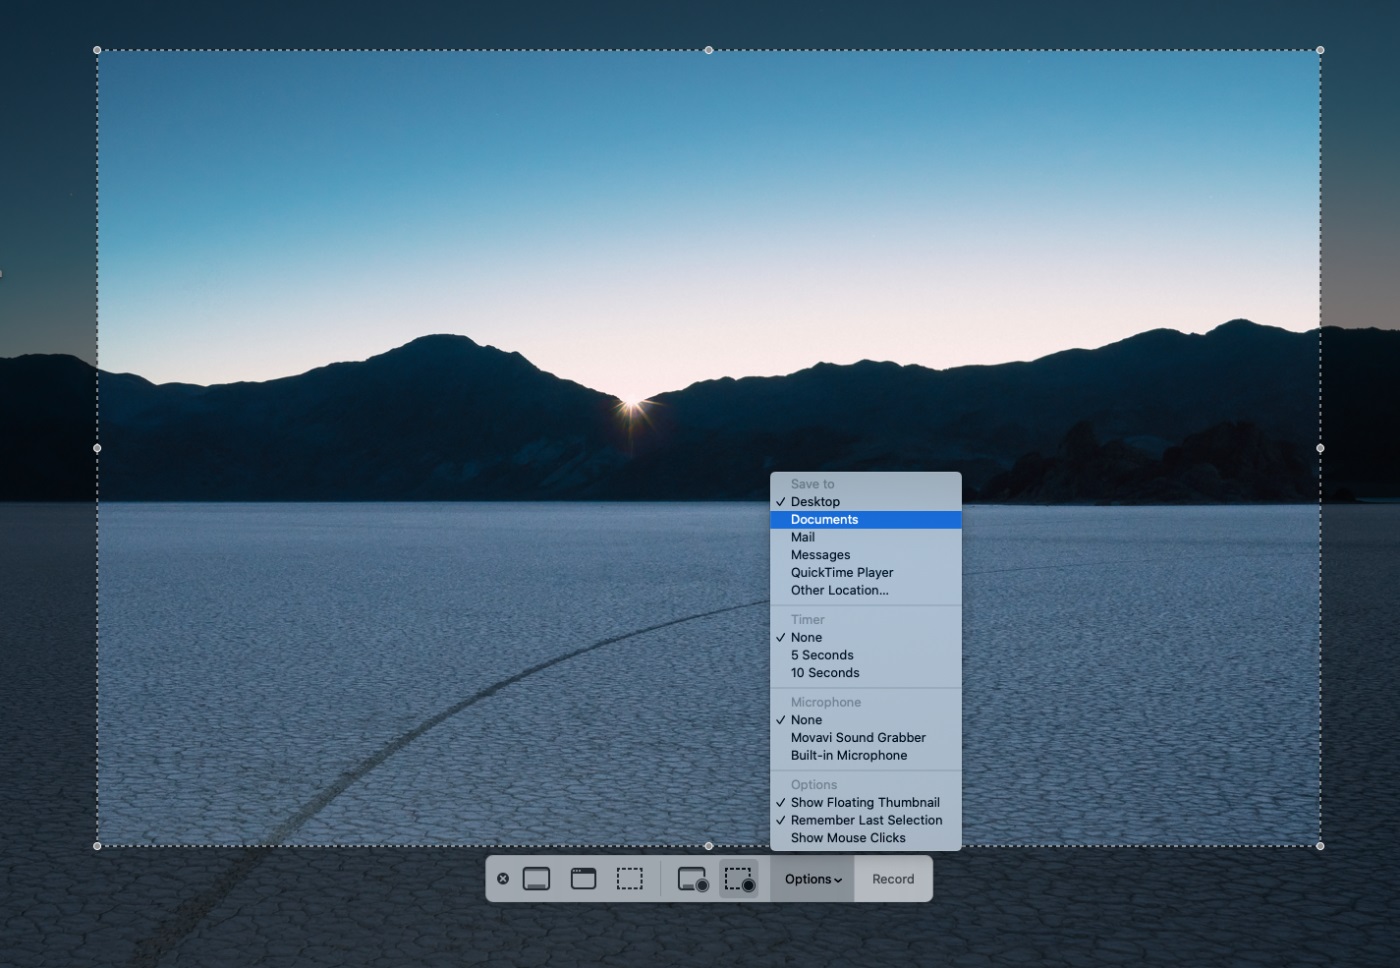
Simultaneously press command, shift, and 5 on the keyboard. A screenshot will be displayed. The Screenshot control bar is located at the bottom of your screen. You can take a still screenshot or make a video recording. Because the logo has a small circular recording icon, you can determine which options are for video recording.
Choose "Record Entire Screen" or "Record Selected Portion" from the drop-down menu. If you opt to record only a piece of your screen, a box will appear that allows you to resize the recording window by dragging and dropping it.
To see what additional preferences you have, go to "Options." For example, you can create a countdown timer, select which microphone to use, and choose where to save your recording.
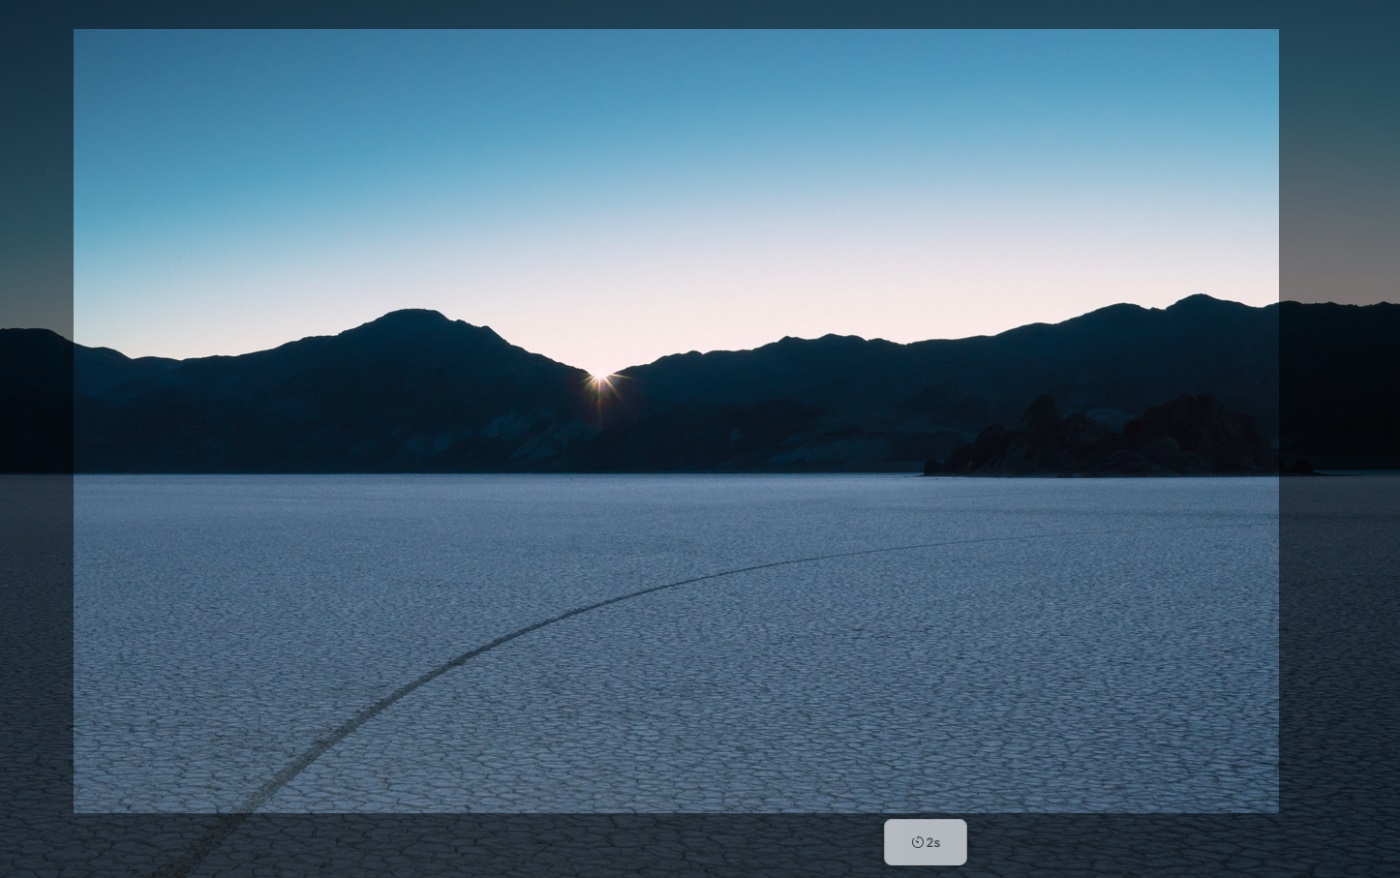
It's time to record now that you've chosen your options. Select "Record" from the drop-down menu. You can also start recording by clicking anywhere on the screen if you're recording the entire screen. You'll notice the timer counting down till the recording begins if you've chosen to use it. If you don't, the recording will start right away.
To stop the recording, click the small square stop button in the upper right corner of the menu bar at the top of your screen. You can also stop recording using a command, control, or ESC. Alternatively, press command, shift, 5, and the screenshot bar will reappear with a pause button that you may click. If you have a Touch Bar, you'll see a stop button in the upper left.

When you stop recording, you'll see a video's thumbnail in the lower-right corner of your screen for a few seconds. If you do nothing or swipe to the right on the thumbnail, your recording will be saved as a QuickTime movie (MOV) at the location you specify.
Drag the thumbnail to the folder where you want to save the recording. You can also drag it into an open window to insert it into an email or document.
To see even more options, press control and then click the thumbnail. You can modify the location where the recording is saved, access it in a specific program, or delete it.
Conclusion
We have shown you two methods for recording the screen on Mac devices on this page. The tools for free screen recording are simple to use.
EaseUS RecExperts is the most user-friendly of the bunch. We recommend that you download this software if you are interested in it.
Price: It starts $19.95/Monthly.
Compatibility: Windows and Mac