A timelapse video compresses changes over a lengthy period of time into a short video. As a result, you may quickly receive a wealth of information from it. In our daily lives, we commonly utilize digital cameras to take many photos or short films, then blend the clips to recreate the entire change process. People must also speed up their labor to make it go more smoothly.
What should you do if you wish to record a time-lapse film of the changes on your computer screen? First and foremost, you'll need an excellent time-lapse screen recorder. The Best 7 Timelapse Screen Recorder for Windows and Mac will be discussed in this article.
Best 7 Timelapse Screen Recorder for Windows and Mac
1. EaseUS RecExperts
This is a powerful screen recording software that may be used to record time-lapse videos. First and foremost, it allows you to freely select the recording zone. You can, for example, capture the entire screen or just a portion of it.
Furthermore, this Windows 10 timelapse recorder allows you to plan to record, allowing you to automatically record short movies at predetermined intervals. After that, you can combine the clips to make a timelapse video. You have to create a new task and define the start and end times. The recording operation will start and terminate automatically after that. You can also use the auto split feature, which splits the movie when the recording time reaches the specified time.
Main Features:
- You have complete control over the recording area.
- Record audio from the desktop as well as audio from the microphone.
- It's possible to use the built-in video trimming tool.
- Make a green screen recording. Webcam
Price: It starts $19.95/Monthly.
Compatibility: Windows and Mac
Steps to Record Timelapse Video Clips:
The first step in making a timelapse video of your screen is to record material snippets.
Step 1. Create a Timed Recording Task
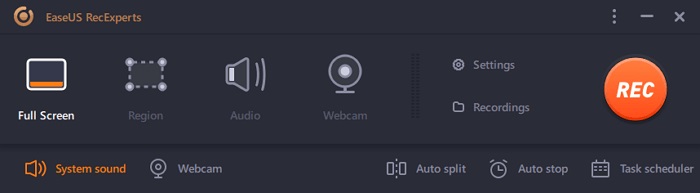
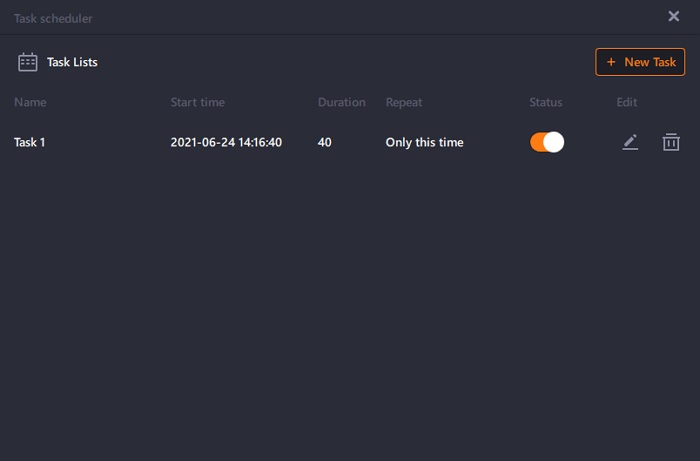
Download and run the software on your PC. Then, at the bottom right of the main interface, click "Task Scheduler."
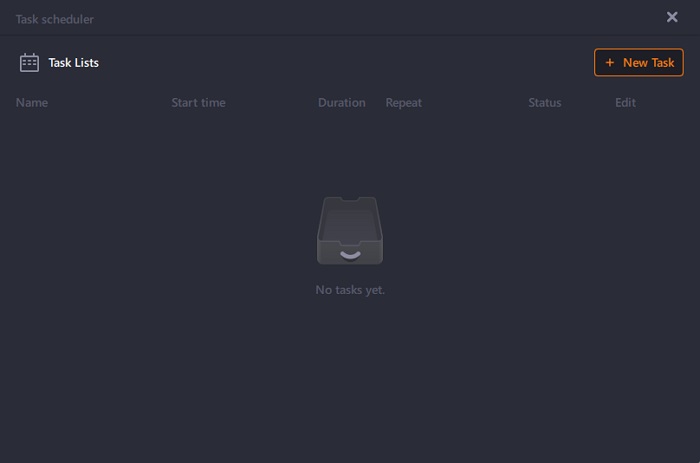
Then, to add a new schedule to the application, choose "New Task."
Step 2. Configure the Task for Scheduled Recording
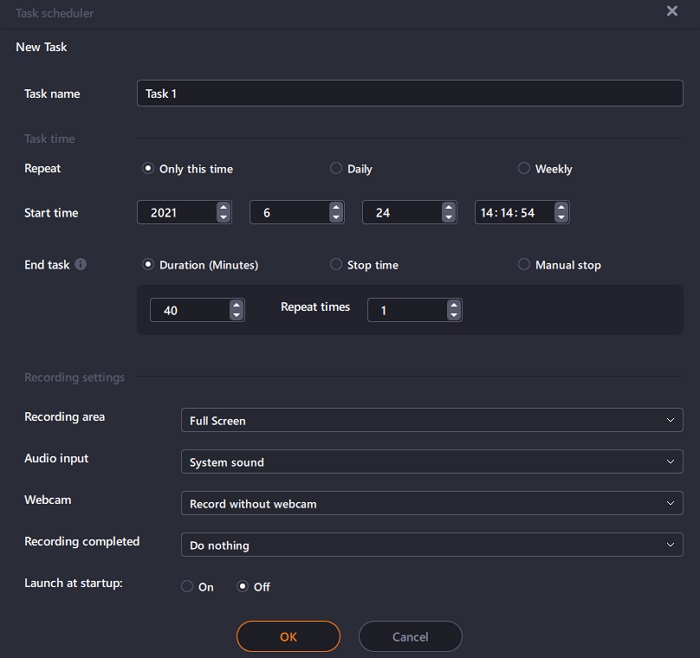
You must give your assignment a name and specify how your screen should be recorded on the next screen.
In the "Task time" tab, choose a start and end time for the task.
Select the recording area, the audio input, and other choices under the "Recording configuration" tab. Then press "OK."
Step 3. A Scheduled Recording can be modified or deleted.
If you change your mind and want to adjust the scheduled recording time or other settings, or if you're going to erase the schedule, you may easily do so. Return to the "Task Scheduler" screen and select either "Edit" or "Delete" from the drop-down menu.
Step 4. View Your Screen Recordings That Have Been Scheduled
The app will capture and save your screen recording video clip once your scheduled time has gone. This file can be accessed by going to the "Recordings" section of the software's main interface. This is where you'll save all of the recordings you produce using this tool.
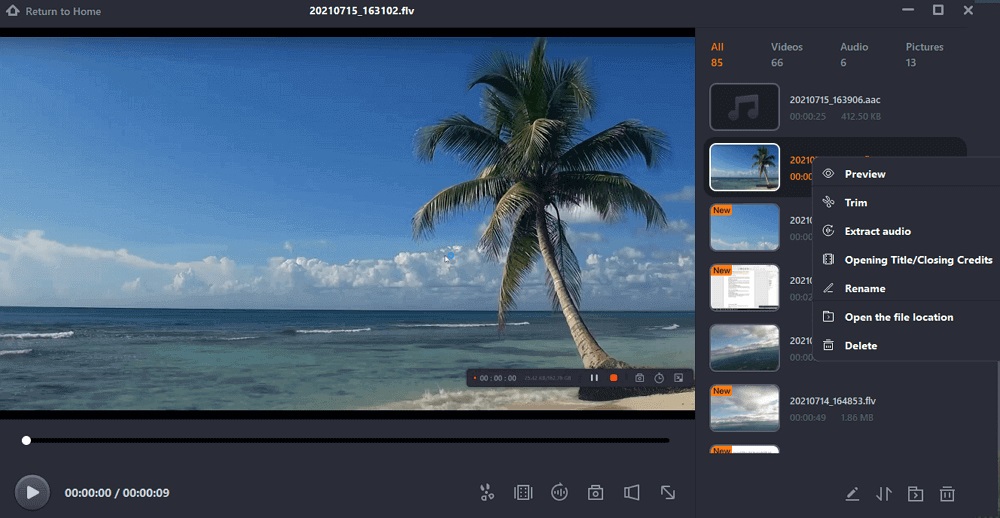
After that, you may use the built-in video editing tool to do whatever you want. Then, to speed up other videos, you'll need to use a professional video editing tool like EaseUS Video Editor. Finally, when you're satisfied that the work meets your needs, save it as a complete time-lapse video to your device.
2. iMovie
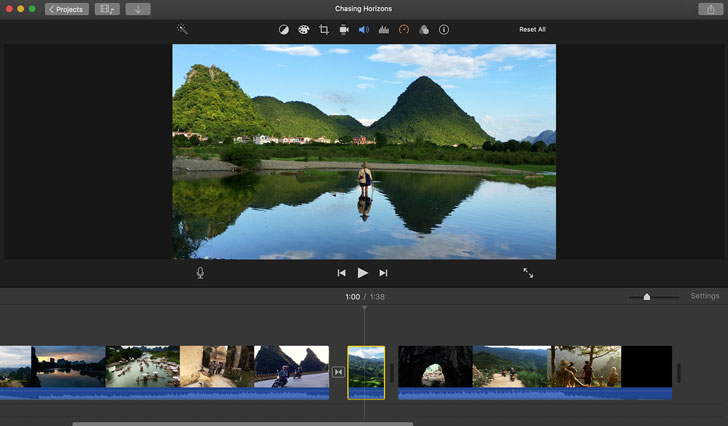
For Apple devices, iMovie is accessible as a free download. It may even be pre-installed on your device when you purchase it. It's a professional piece of software that allows you to make awesome videos in the most straightforward method imaginable. Although it is not available to Microsoft customers, it is available on all Apple devices and Mac PCs.
You may mix photographs to produce a high-definition video that showcases your photography while also allowing you to effortlessly edit and merge the material you've captured in a drag-and-drop style.
Pros:
- Professional software is available for free to Apple users.
- HD rendering up to 4K resolution
- Combine video and picture footage
Cons:
- Windows users are not supported.
Price: Free
Compatibility: macOS
3. Adobe Premiere Pro
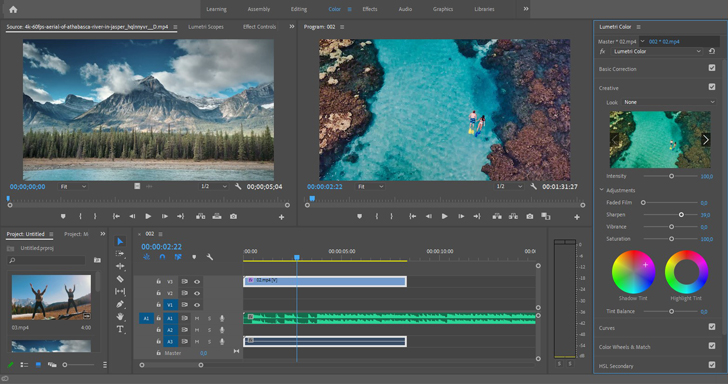
Adobe Premiere Pro is widely regarded as industry-standard video editing software. Suppose you want a truly professional video and are working on a project where only the best will do it. In that case, Premiere® Pro is a viable solution, especially since it is available on a monthly subscription basis. It is, however, not the easiest to use and may take up a lot of space on your computer. Other software can also do an excellent job without taking up as much space on your hard drive.
Pros:
- Editing suite that is both industry-standard and powerful.
- Excellent Adobe® support and a wealth of educational materials
Cons:
- Creative Cloud must be paid for on a monthly or yearly basis.
- It can be taxing on your computer system.
Price:
- Free trial
- $20.99/month
Compatibility: macOS or Windows
4. LRTimelapse
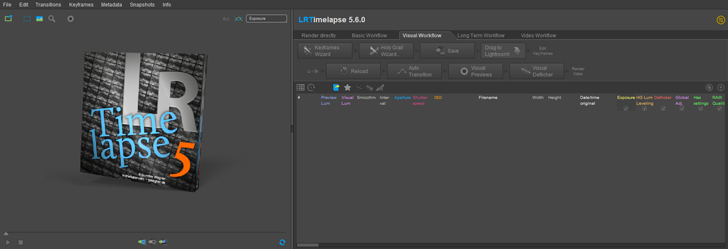
LRTimelapse is powered by Lightroom®, another component of Adobe® software. Lightroom® Classic or the older Lightroom® 6 can be used. You may use this on either a Mac or a Windows computer, and the free evaluation license allows you to download and try it out before purchasing. It will enable you to shoot still photos and quickly import high-quality images before converting them into a time-lapse video. There are also some sophisticated filters included in the software.
Pros:
- It's simple to utilize with still photographs.
- It has some excellent photo editing filters.
Cons:
- There are no other video editing capabilities or built-in live recording.
- Adobe software is required to run.
Price:
- Free evaluation license
- $118 for the full version
Compatibility: macOS or Windows
5. Panolapse
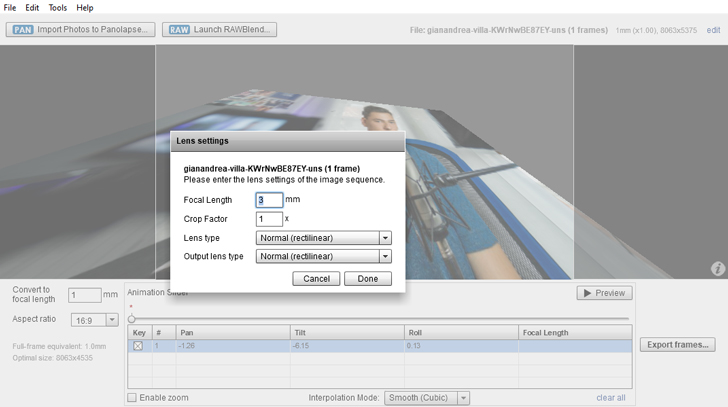
Panolapse is a tool that lets you add motion to time-lapse recordings. You can make a video that spins in real-time and produces a more intriguing result by combining static images. The term "pano" refers to the rotational feature that adds movement to the image. This is compatible with Windows 10, Windows 7, and Mac OS X. On either operating system, it's relatively simple to use. Batch rendering facilitates the quick work of many high-quality photographs, allowing them to be converted into a fantastic film in a short amount of time.
Pros:
- In post-production, it's simple to add motion.
Cons:
- There will be no video editing or timelapse "effects."
- Editing possibilities are limited.
Price:
- Free trial
- $99.95 for the full version
Compatibility: macOS and Windows
6. Time-Lapse Tool
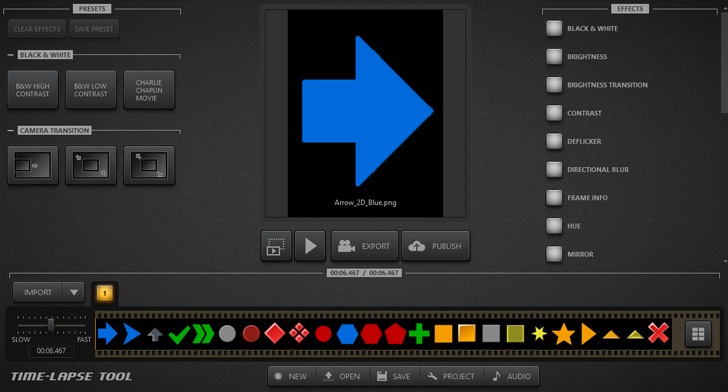
For beginners, Time-Lapse Tool includes some useful features that make it simple to convert still images from your camera or phone into HD video. It enables a simple merging of JPEG and other image formats, but keep in mind that RAW photos, which contain the most data and are ideal for creating full-quality 4K films, are not supported by this software.
The software runs on Windows and makes it simple to create films, GIFs and even publish directly to YouTube.
Pros:
- For beginners, the interface is simple.
- License at a reasonable price
Cons:
- There are no video editing options available.
- It is only compatible with Windows.
Price:
- Free trial
- $99 for the full version
Compatibility: Windows
7. ChronoLapse
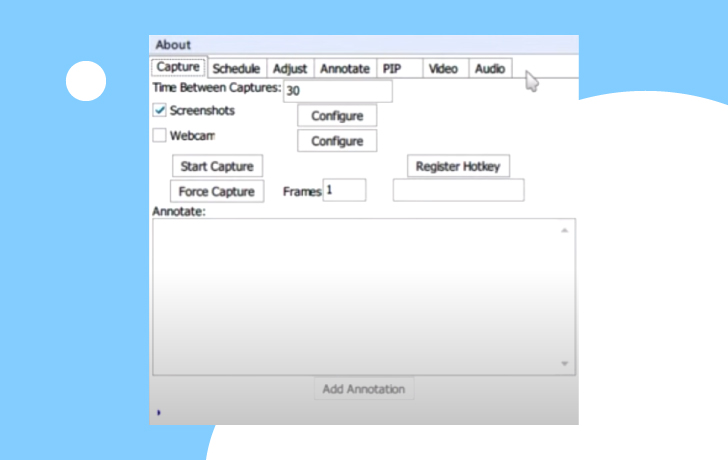
It's uncommon to find free time-lapse video software that you can trust. However, Chronolapse is an easy-to-use and professional tool for combining videos into time-lapses. It can use the feed from your webcam or an external camera attached to your computer. It's programmed to capture still images from your webcam or DSLR camera at predetermined intervals, which it then converts into a timelapse video. This is impressive for freeware; however, it does not allow you to shoot photos while traveling and compile them later.
Pros:
- No-cost software
- The makers provide excellent instructions that make it simple to use.
Cons:
- It only works when you make a live recording on your PC.
- There is no Mac version.
Price: Free
Compatibility: Windows
Conclusion
In this post, we discussed the Best 7 Timelapse Screen Recorder for Windows and Mac, and you can download the most suited one based on the instructions above. But, of all the timelapse screen recorders, EaseUS RecExperts is the most feature-rich, as it includes both a robust screen recording tool and a rudimentary video editing tool. So don't be afraid to give this time-lapse screen capture program a shot; it's versatile and valuable.
Price: It starts $19.95/Monthly.
Compatibility: Windows and Mac