Microsoft Paint is primarily used to manipulate images like editing photos imported from mobile phones and digital cameras. However, most users have difficulty making the background of their image transparent, and this piece will brief you on how to make paint transparent background.
The feature in MS Paint allows you to make your white background transparent, but you cannot save your pictures with transparent backgrounds. You can switch on the "Transparent selection" icon, which can either be turned on or off. Thoroughly read this guide to make a transparent background in Paint.
It's very easy to create a transparent image in Microsoft Paint. You are required to trace the section of the original image, which you need to insert into any other image, and the work is done if you are eager to find out ways to make a transparent background in Paint and paint 3D in detail. Make sure to follow this article.
How to Make a Transparent Background in Microsoft Paint?
Follow the step-by-step guide to make a transparent background in Paint:
Step 1:Click on the Cortana icon to open Paint. Enter a keyword, 'Paint' in Cortana's search box and select to work on Paint.
Step 2:Click on File>Open and choose one image to open.
Step 3:Tap on the select icon and then visit the transparent selection department.
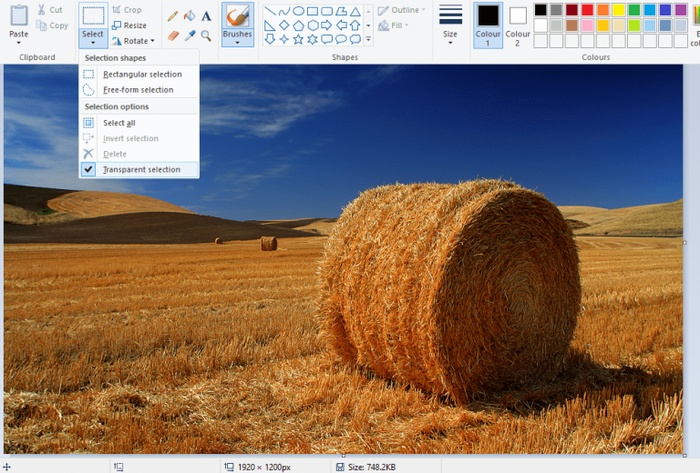
Step 4:Opt for the free form selection button under the Menu of the selected button.
Step 5:Look in the foreground area to preserve your original image with the cursor and hold on the left side of the mouse button.

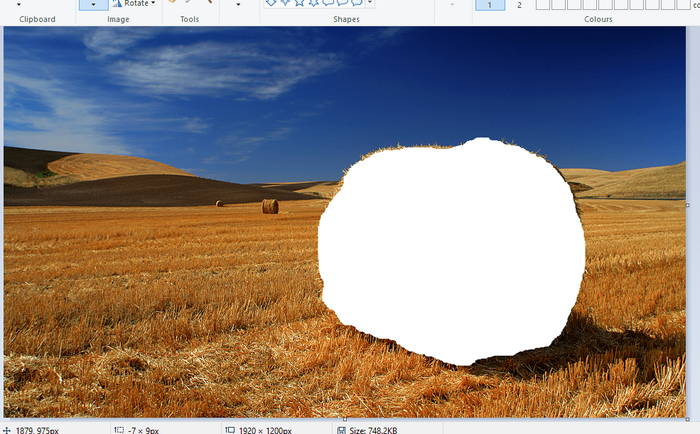
Step 6:The rest of the image would lie outside of the traced area as a transparent background.
Step 7:Around your selected area, tap right within the appeared rectangle. Under the context menu, select cut for removing the specified foreground from your image.
Step 8:Now proceed to open a whole new picture in MS Paint. Enter the Ctrl + V key for pasting the traced foreground area from your first image.
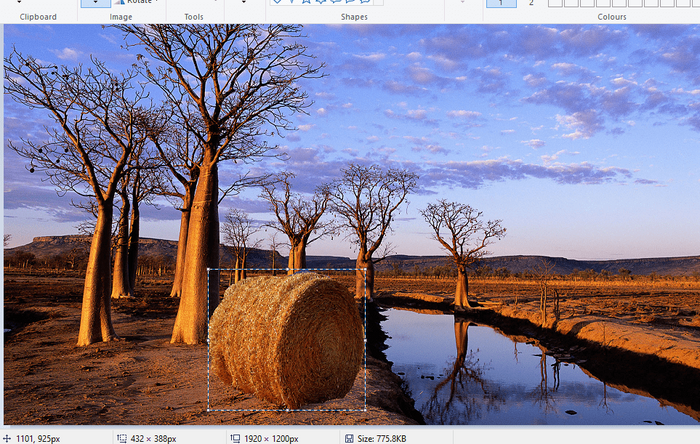
Step 9:Now, when the picture consists of a transparent background, you will be able to notice the second picture behind it.
Step 10:Tap left on the foreground pasted image and drag it to the preferred position on your background image.
If you have ever been curious to remove background in MS Paint, then this is one of the common ways to execute it. And if you ain't satisfied with the outcome, then refer to the bonus tip section below for further guidance.
How to Make a Transparent Background in Paint 3D?
Proceed with the following step-by-step guide:
Step 1:In the Windows search box, enter Paint 3D. If you are yet to have the Creators update, make sure to add this application on Windows 10 from the website page.
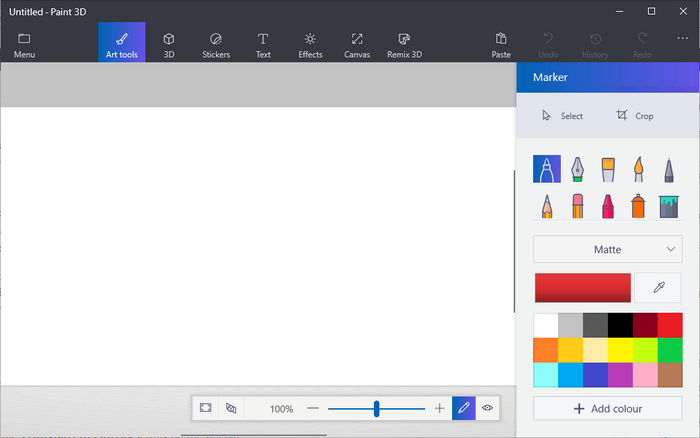
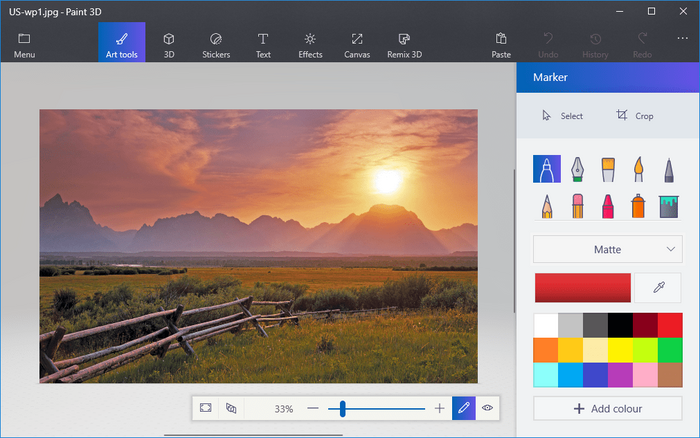
Step 2:Select for opening the Paint 3D app. Click on Menu to open and browser for files. Choose a particular image for opening in Paint 3D.
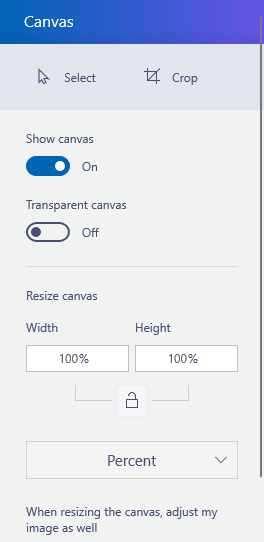
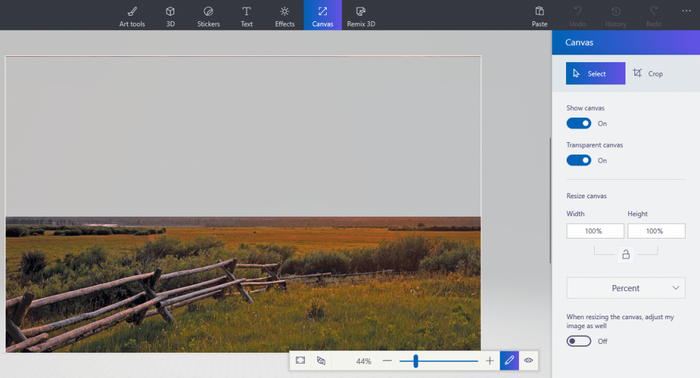
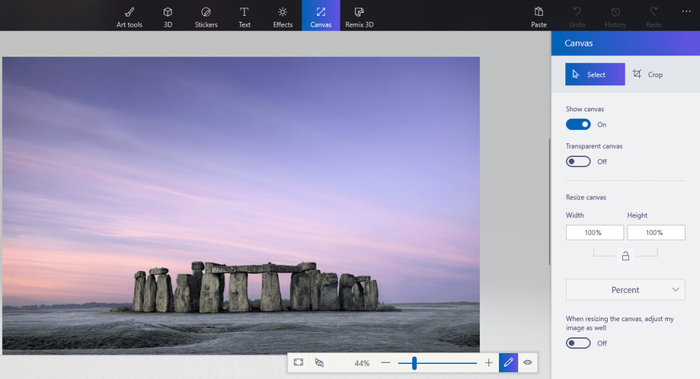
Step 3:Tap on the Canvas icon to open the sidebar. Press on the transparent canvas setting on it.
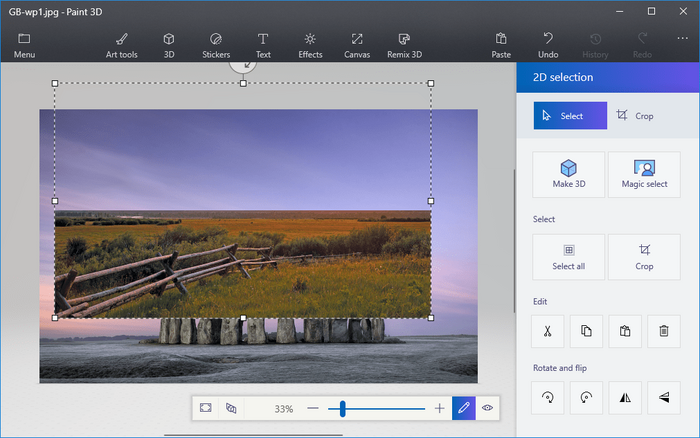
Step 4:Click on the select icon. Drag the selected rectangle over the area of the picture to remove it.
Step 5:Enter the Ctrl + X key to separate the area from the image. It would leave your image with a transparent blank area that could be filled by any background layer.

Step 6:Tap on the Menu and then save after selecting the 2D PNG option. Enter the title of your file and click on the save icon.
Step 7:Press on Menu to open a blank canvas.
Step 8:To access a background layered image for your saved transparent picture, click on Menu>Open and browse your files.
Step 9:Tap Menu>Insert for opening the saved transparent image. You would notice your transparent image on the top part of the background layer.
Step 10:You are free to resize your overlapping picture after you move the cursor to the selected corners of the border. Hold on to the left mouse and drag the cursor.
Step 11:Move the cursor over your rotation circle for rotating the foreground picture layer at the top part of the selection border. Press left click on your mouse.
Step 12:Drag your cursor to either left or right to rotate your selected layer anticlockwise or clockwise.
Bonus Tip: Other Methods to Make a Transparent Background
1. PowerPoint
Microsoft PowerPoint allows users to change the picture's original look as per the design of the presentation by either making specified colors or sections of the background picture transparent. This is beneficial when a design consists of a particular color scheme or you just require to tone down the level of brightness.
Refer to the step-by-step guide to making your image transparent in PowerPoint:
Step 1:Head over to the PowerPoint presentation. Tap on Insert>Shapes. Choose a particular shape from your gallery.
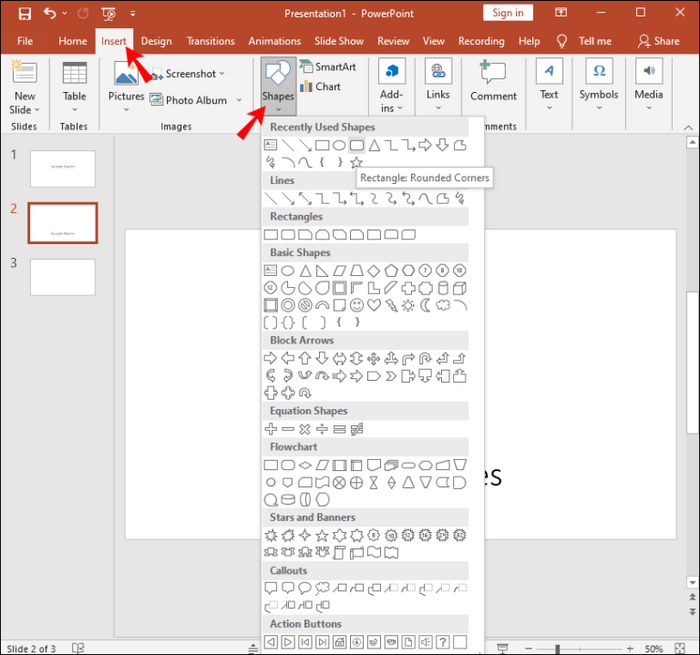
Step 2:Draw a shape and make it roughly of the similar size as your image, which you need to insert.
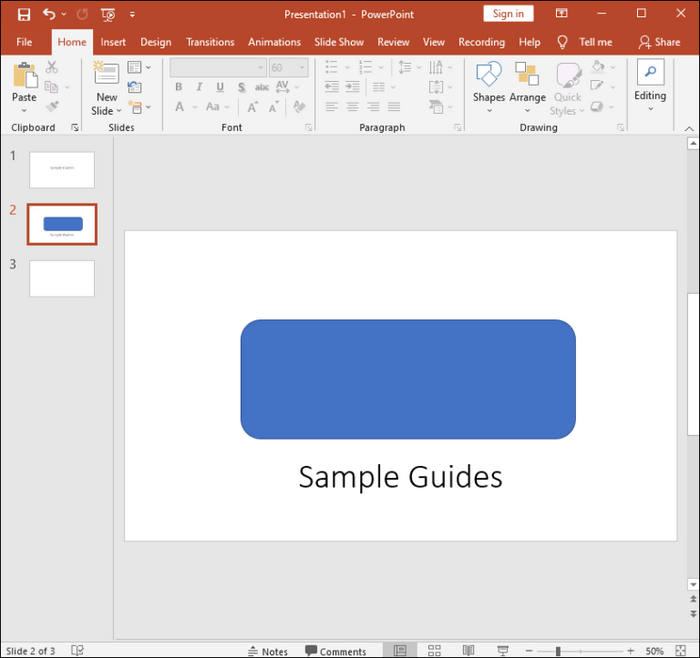
Step 3:Tap on the shapes followed by selecting "Format," "Shape Outline," and "No Outline."
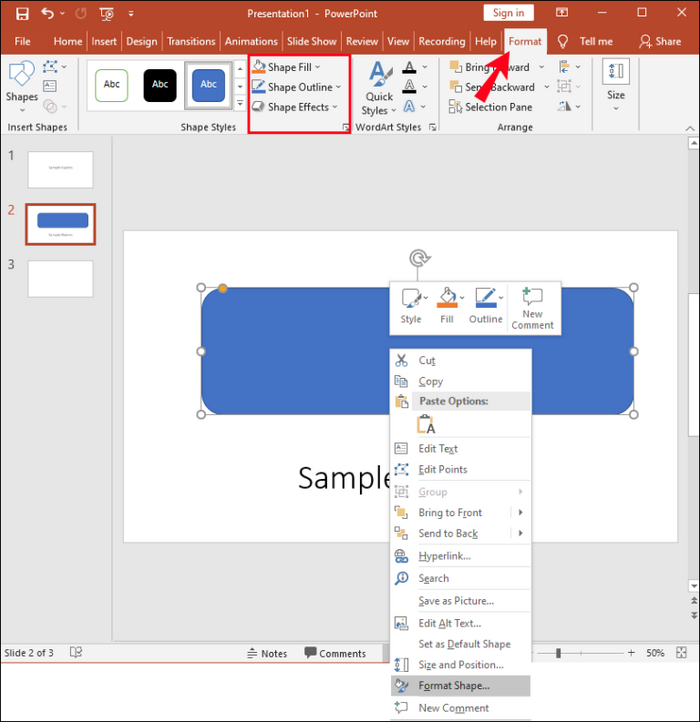
Step 4:Tap right on the shape and then click on 'Format shape.' Choose the 'fill' icon from your' format shape' then 'Picture fill' or Texture.

Step 5:Click on the 'Insert' icon. Move on to the 'Insert Picture' section, and look for the image file you require to insert.
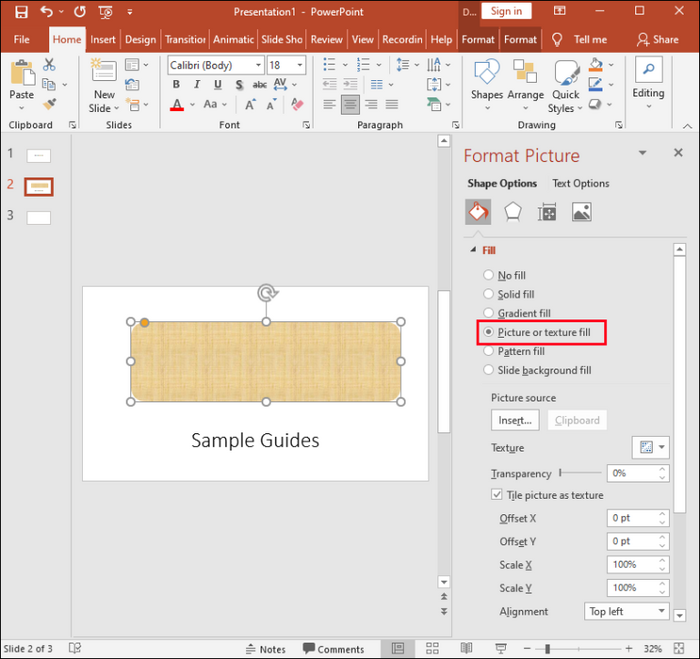
Step 6:Opt for the image and then press on the 'Insert' icon.
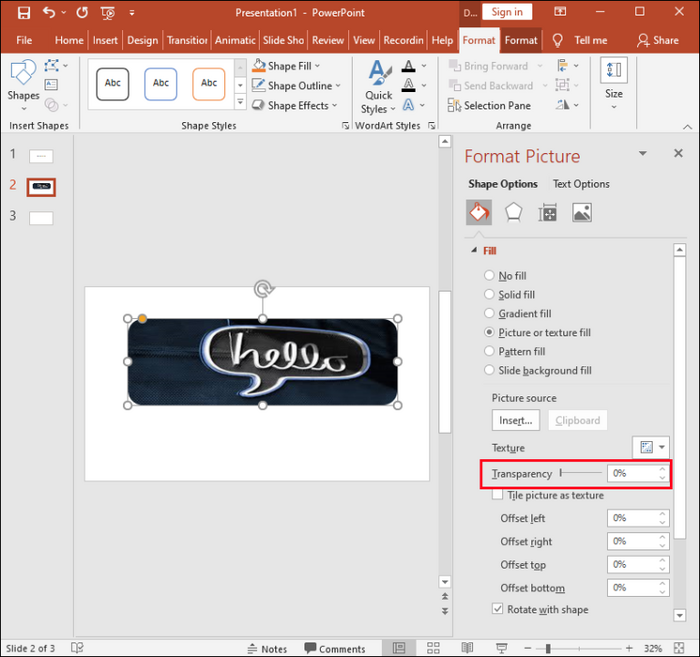
Step 7:Through the 'Format shape' pane, use your 'transparency' slider for alteration of your image.
Alternatively, you can put up a number beside the slider in your box: the default setting is 0% and showcases a completely opaque image and 100% completely transparent.
Additional Tip: Don't drag to make changes in the original size ratio since the picture might become skewed. If your picture fails to fit into the shape, you can make a few adjustments to the image appearance by resizing it using the 'Offset' option beside the transparency slider.
2. Apowersoft Background Eraser
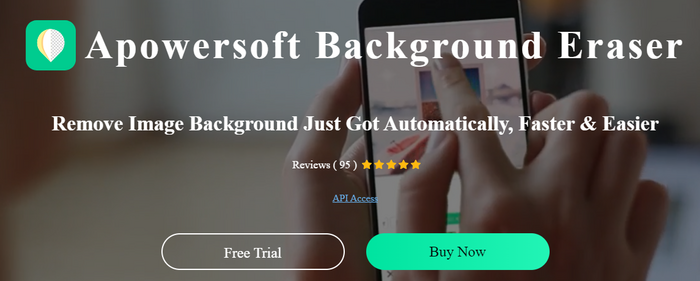
Apowersoft Background eraser is a well-known picture editing software accessible on PC as well as online. This tool is capable of performing every processing task related to the background of a photo which also includes deleting background from the image, changing the background of the photo and creating a transparent picture.
Through AI technology accurately and automatically removes the background from a picture within some seconds. It works for every kind of real-world graphics, and photos include stamps, persons, logos, animals, trees, cars, homes and products, etc.
Key Features:
● Removes backgrounds manually and automatically
● In-built massive templates such as presentations, scenery, greeting cards, e-commerce, profile photos, etc
● Customization of own backgrounds
● Processing images in bulk
● Pre-set your ID photo
● Flip, move, and duplicate cutouts
● Adjust saturation and brightness level
● Save as PNG and JPG formats
Price: It starts $4.99.
Compatibility: Windows, Mac, Android, iOS
Step-by-step guide:
Step 1:Open your software and log in to Apowersoft Background Eraser with the account.
Step 2:If you are yet to make your account, tap on 'sign up for creating a new account. Choose between 'Remove product background in bulk' and 'Remove person background in bulk' accordingly.
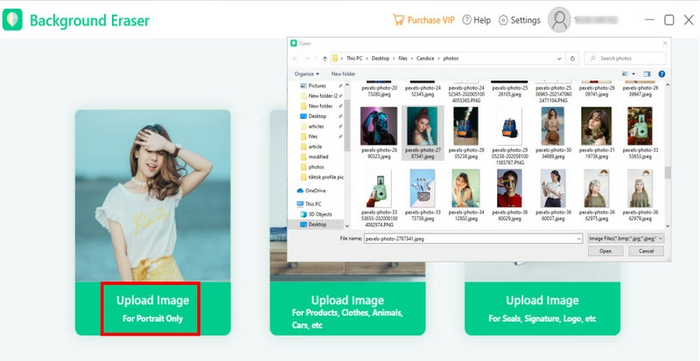
Step 3:Tap on "Remove product background in bulk" or "Remove person background in bulk" below from your interface to import bulk photos.
Step 4:Once the import is done, click the 'yes' icon to process the images. Within a few seconds, you would notice the background is removed appropriately.
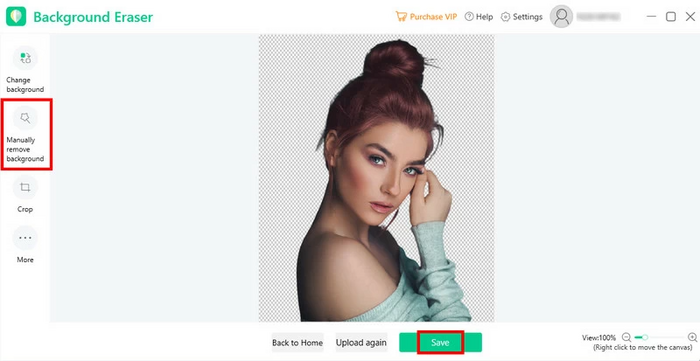
Step 5:If you are happy with the outcome, you can proceed to save your images by clicking on the "Save All" button.
Hence, Apowersoft Background Eraser is the top-class solution while talking about processing images automatically to increase productivity and unleash your creativity.
Conclusion:
With the following brief methods, users can learn how to make a transparent background in Paints well as paint 3D. The combination of the transparent pictures with other images by overlapping with the layers or pasting the selected foreground can smoothen the overall process.
Alternatively, you can use Apowersoft Background Eraser, software with advanced features. It won't consume much of your time and effort to remove the background from your images. Every detail of this software is included in the article. Make sure to go through it.