Hiding files and folders is a typical occurrence, particularly among MS Windows users, and OS, like any other operating system, allows users to create hidden folders on Macs. The only difference is that Apple hides these options, making it harder for users to locate them.
Computers are personal items; you store private and valuable information in them, some of which you don't want others to see. This is why the ability to conceal files and folders was added to Mac OS to prevent this vital information from getting into the wrong hands.
1. Hide Mac Files via Mac Terminal
This method allows you to hide files in plain sight without the need for passwords or usernames. You'll have to utilize the terminal, but it's straightforward.
Step 1: Click on Finder.
Step 2: On the left panel, select Applications.
Step 3: To access the Utilities Menu, go to the Utilities section and double-click.

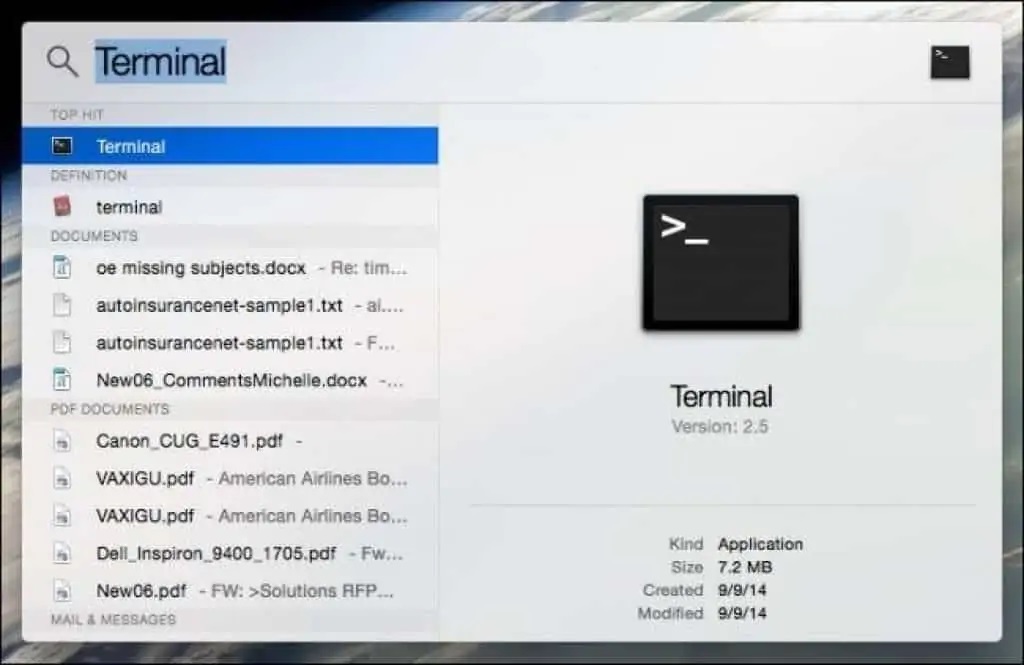
Step 4: You can also open a Terminal by hitting Command+Space and typing terminal into the search bar before pressing the enter/return key. Learn how to hide files on your Mac.
Step 5: Without quotations, type "chflags hidden."
Step 6: Any file or folder can be dragged and dropped into the Terminal Window.
Step 7: The file or folder will vanish if you press the Enter/Return key.
Step 8: You'll need to remember the file path to get back to it.
Because files and folders are only accessible to the naked eye, this is one of the most straightforward ways to hide them.
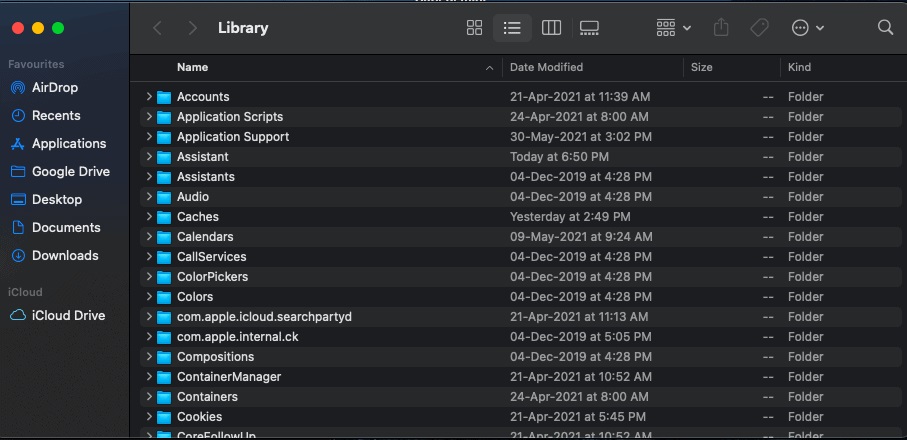
2. Hide Mac Files via Library Folder
First and foremost, the Library folder is hidden by default. As a result, putting a file or folder into it rendered it invisible. Here are all the steps to finding and doing it in no time.
Step 1: From the dock, open the Finder.
Step 2: To access the Finder's menu, hold down the option key.
Step 3: After that, go to the library folder.
Step 4: Make a new folder in that location and place all the alleged files and folders there.
Step 5: All of the files dragged into the folder will be hidden.
3. Hide Mac Files via Apple's Developer Tools
This is one of the simplest methods for hiding your files, but you'll need Apple's Developer Tools.
Step 1: Open a Terminal and type "setfile -a V" followed by the name of the file/folder without the quotes if you have it installed.
Step 2: This hides the file/folder; you can restore visibility by repeating the process, but you'll need to use a lower-case v in the command.
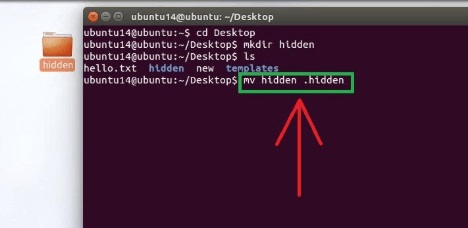
4. Hide Mac Files via the "mv" Command
The "mv command" moves a folder from one location to another in the terminal. As a result, you can use the "mv" command to move the folder from its usual nook to a new folder using the "mv" command.
Because they contain system-critical data, period folders are automatically hidden. When you move an item to the System32 folder in Windows, it works the same way.
Step 1: Launch Terminal and type mv filename to make your folder invisible. Substitute the title of the item you want to mask for "filename" and the header of the system-protect file for the ".filename" parameter.
Step 2: All you have to do now is rename your files, to begin with, with a "." or period character. The Finder window can't rename anything; you'll need to use the terminal. You can also use a series of Terminal commands to reveal these files.
5. Unhide Mac Files via Toggle Keyboard Shortcuts
The quickest method to go about it is with a simple keyboard shortcut generally recognized among seasoned Mac users.
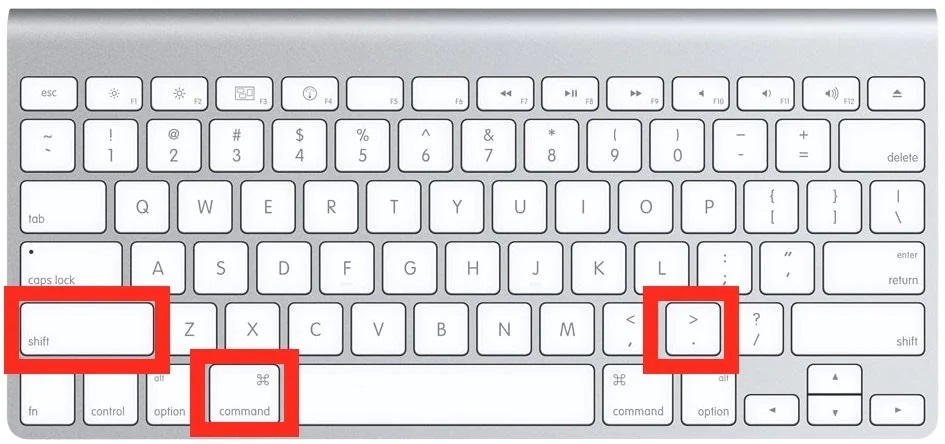
Step 1: The menu opens the folder containing the Finder's hidden files.
Step 2: When you get there, use Command+Shift+Period, (".") to bring up the files.
Bonus tip: How to hide files on Windows
EaseUS LockMyFile is a graphical user interface-based file locking utility. Even in Windows safe mode, this software may hide your files or folders from a local disc or an external (USB) disc on Windows 10, making them invisible to anyone or any program.
Furthermore, this tool has the potential to render your personal information unsearchable. Again, all hidden files will not appear in the search results.
EaseUS LockMyFile can lock files or folders on internal or external storage devices using a password and the file hiding capability. A folder or file that has been password protected cannot be edited, deleted (even with shift delete), or renamed without the password.
Pros:
- It's completely free.
- 100% Safe and Secure
- Light and airy
- Simple to use
Cons:
- There aren't any available.
Price: It starts $29.95/Monthly.
Compatibility: Windows 2000/2003/XP/Vista/7/8/10/11
Steps to hide files using EaseUS LockMyFile
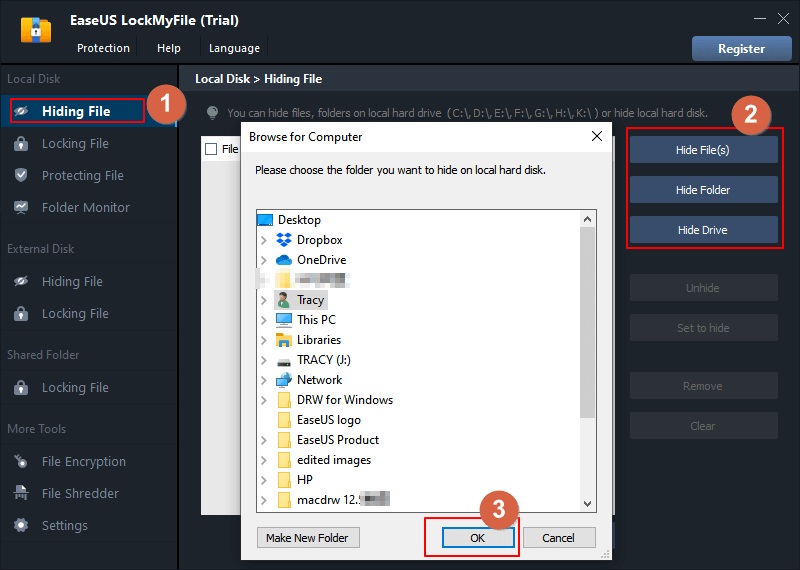
Step 1. Start EaseUS LockMyFile and choose "Hiding File" from the "Local Disk" module.
Step 2. To conceal a file, folder, or drive, click the "Hide File(s)", "Hide Folder", or "Hide Drive" button. They will then be added to the list. You can add as many files as you wish.
Step 3. To begin the hiding procedure, click "OK."
Conclusion
As you can see, there are various ways to hide files and folders on a Mac. Whichever you choose will keep all vital information secure, especially if you share a computer and are concerned that your data will fall into the wrong hands. Whatever reason you choose to hide it, you know exactly how to do it and how to unhide files if necessary. We strongly advise regular users to utilize EaseUS LockMyFile to hide a file or folder.
Price: It starts $29.95/Monthly.
Compatibility: Windows 2000/2003/XP/Vista/7/8/10/11