Compressing files is an integral part of any digital workplace. Zip files take the help of compression to transfer massive data at a more incredible speed which is possible. This is one of the common reasons why Zip files have become a commonly used tool for companies and businesses worldwide.
Being a popular file format, ZIP is used to compress one or more files together into a location. This significantly reduces file size and makes it easy to send them. Learn how to create a zip folder through 3 methods in this article.
There are different types of potential uses to zip files in any business. It's a hectic task to send multiple files over an email. You might be bogged by an error message due to file size. Therefore, please send all your files over one email, zip and attach them in a single ZIP file. Your recipient has to unzip the file to download it.
3 Simple Ways to Create a Zip Folder in Windows
Method 1: Use Ashampoo Zip Pro 4 to Create a Zip Folder in Windows
The latest Ashampoo ZIP is a compelling and compact file compression software that facilitates the extraction and creation of archives in 60+ formats with ease. It is one of the fastest tools available, offering multicore support to process larger files.
Pros
- The quick 64-bit multi setup compression engine
- Strengthen compression and offers AES 256-bit encryption
- Features touch screen and 4K ready interface
- FTF client support and cloud storage manager
Cons
- The interface is quite similar to Windows 8-like
- Offers limited advanced features
Applicable scenarios/user:
- Get to enjoy wholesome features
- It goes beyond archiving the files simply because it offers a package
- Filled with proper file security, archiving, and cloud maintenance.
Step by step guide:
The first and foremost thing is to create a folder. Follow the steps below to create a folder:
Step 1: Locate the place where you require to create a folder.
Step 2: Long press the Shift, Ctrl and N keys together. Enter the desired name of your folder.
Step 3: You will see the folder in its place.
The next is to compress your files with the help of an Ashampoo zip. Follow the process below:
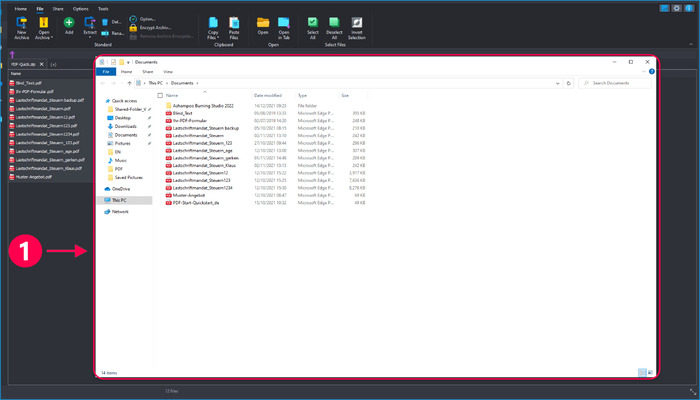
Step 1: Compress your file with the help of Windows Explorer. Launch and select your files.
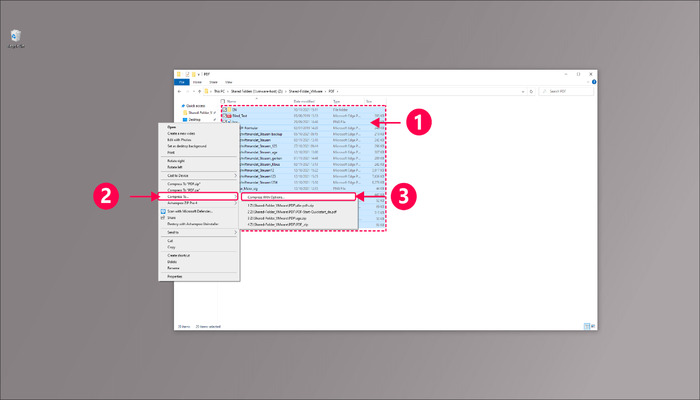
Step 2: Press right-click on the files to access the context menu and click on 'Compress To' and "Compress With Option' to install the app successfully.
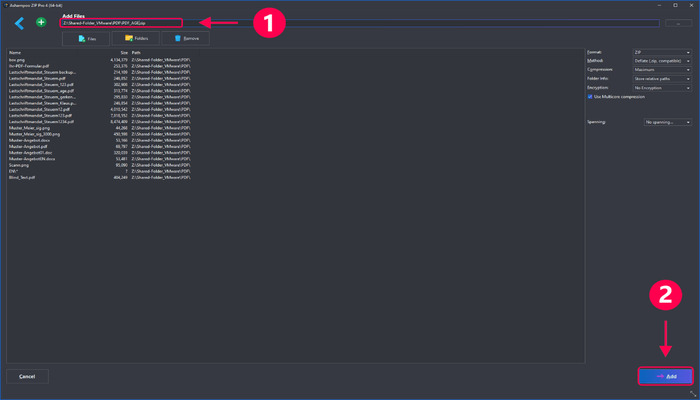
Step 3: Enter the required name on your archived files. Tap 'Add' to create the same. Eventually, the application will shut down. You will notice the archived folder at your selected place.
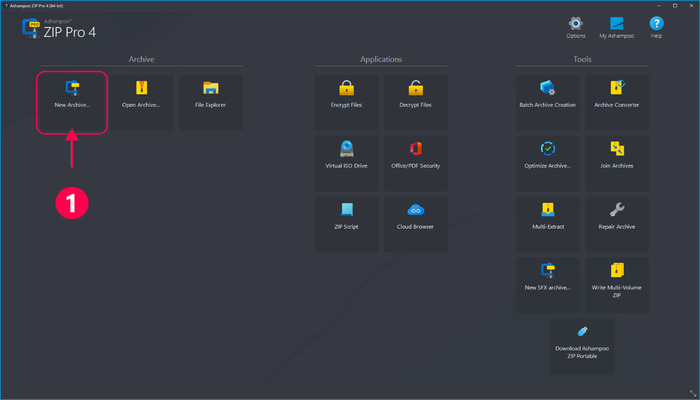
Step 4: Run the Ashampoo Zip pro version to compress your files and tap on 'New archive'.
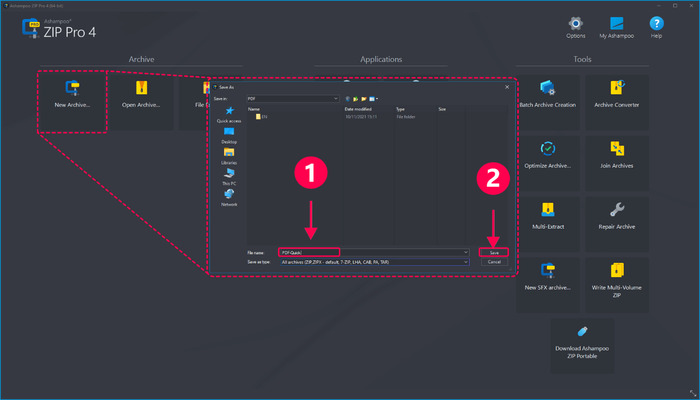
Step 5: Set a name to your archived sections and click on 'Save'.
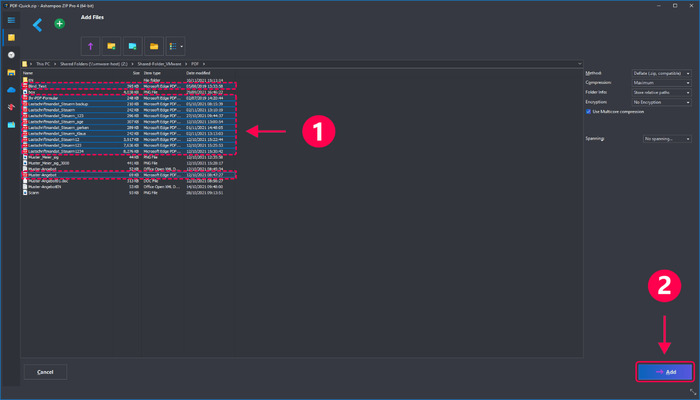
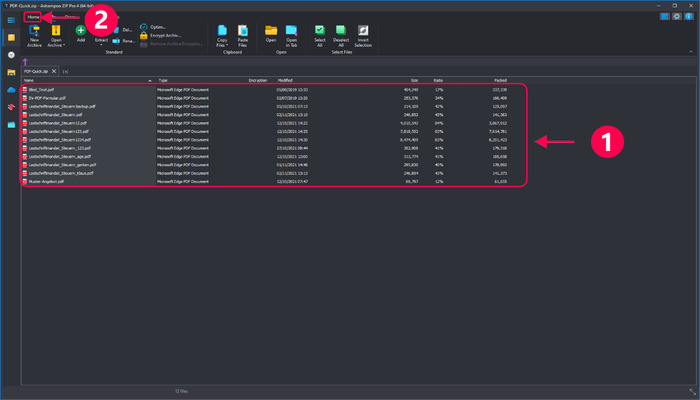
Step 6: Select the files to include them in the archives and press 'Add' to create the folder. All the contents would be visible to you, and this is how you can make the necessary modifications. To return to your start page, tap on the house icon.
Step 7: Use Windows Explorer to extract your files. Tap right to archive and click "Extract To".
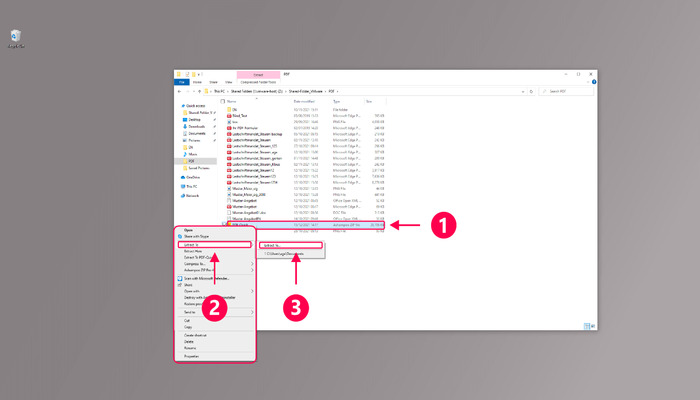
Step 8: Select the location and extract further, finalize the output location, and click on 'Extract' to extract your files. The application would automatically close, and a new window would open to extract the files.
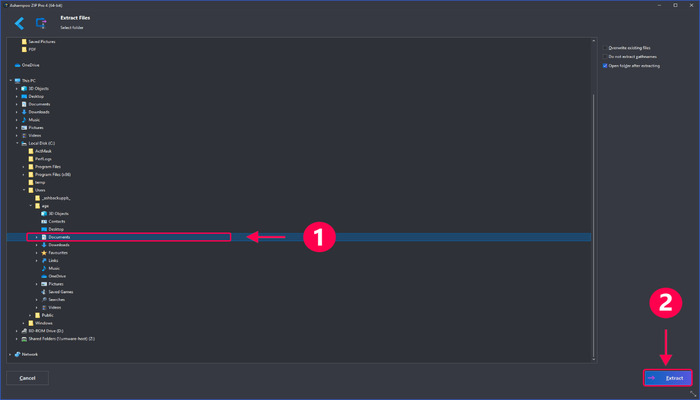
Step 9: To extract the files using the Ashampoo Zip, select your archived section from the home page. You can also choose 'Open Archive' after seeing the listed content. Click on extract to proceed further.
Step 10: You can check your archived files to see all your zipped files. You are done.
Method 2: Use Winzip to Create a Zip Folder in Windows
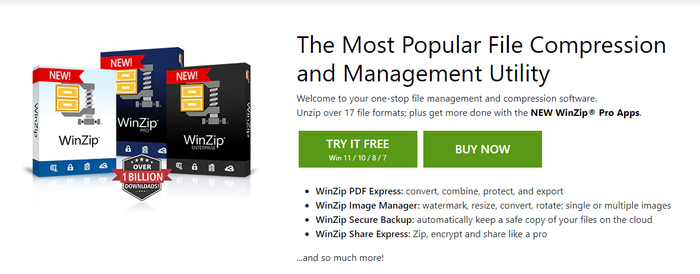
WinZip is a popular Windows program that makes archiving and compressing the files easier so users can quickly transfer or store the files. It features an easy to use and capable interface, and it is generally used in the. PKUNZIP, DOS operating system and PKZIP.
Pros
- Features a user-friendly interface
- Easily conversion files from MS Word to PDF
- Great plugin for users of Microsoft Outlook
- Offers quick zipping service in comparison to in-built Windows utility
Cons
- Quite expensive
- It doesn't offer any online storage systems
Applicable scenarios/user
- One of the most commendable strengths of this application is its versatility
- Users are free to use it on multiple platforms; you can open your corresponding zip files on any platform
- It doesn't require you to download any additional software.
Step-by-step guide:
Step 1: Open WinZip
Step 2: Search and select your files to zip from the PC, cloud or network services in your files pane.
Step 3: Tap on 'Add' to zip the files.
Step 4: Select and click on the 'Save as' option in the Actions pane.
Step 5: Make sure to save the zip file to any network, local or cloud location.
Step 6: You are free to email it and share it via a text message or social media service.
Method 3: Use WinRAR to Create a Zip Folder in Windows
WinRAR is considered a trialware file archiver utility for Windows users. You can view and create your archives in ZIP or RAR file formats and unpack various libraries' file formats. It gives the user the ability to test archives' reliability; WinRAR embeds BLAKE2 or CRC32 for every file in the archive.
Pros
- It offers an optimal compression algorithm which is supremely optimized for multimedia purposes.
- Unlimited archives files for any practical purposes
- Extends functionality to create a solid archive by raising the compression ratio by 10%–50%
- Possess the ability to give a multi-volume library like SFX
Cons
- Both the speed of compression as well as decompression differs with the capability of the device being used
- It's often become overwhelming for devices to work on 3 to 4 archives if the system works slowly
Applicable scenarios/user
- The main reason users prefer WinRAR is due to its excellent compression rate.
- Overall, the RAR files are comparatively smaller than ZIP files
- They don't take a lot of time to upload or download.
Step by step guide:
If you are still unaware of WinRAR, installing the app on your Windows PC is recommended. It is one of the light weighted software used for dealing with ZIP, RAR and any other formats.
Below are the steps to guide you in the overall process:
Step 1: Select all the files required to be zipped.
Step 2: While selecting the files, make sure to press right-click.
.jpg)
Step 3: Find and click on 'Add to Archive'
Step 4: A box named WinRAR would open. Leave a mark on your ZIP radio button.
.jpg)
Step 5: Confirm the process after clicking on the 'OK' button.
Conclusion
The process to know how to create a zip folder is very straightforward once you learn how to do it, and that's what this article is about. You can prefer to install an extensive program Ashampoo Zip to manage the folder compression or use Windows in-built compression tools to solve the problem.
Both the methods would create zip files along with your file extension. Zipping folders has a lot of benefits. And the chances are, if you are yet to know about it, you need to read here to discover and explore its vast possibilities.